Multipath iSCSI with Ubuntu 10.04 and a EqualLogic SAN

Recently we purchased a EqualLogic PS6000XVS for a KVM environment.

In most of our iSCSI systems we use Multipath I/O, we do this by giving the iSCSI Target two NIC’s and give each NIC a IP-Address in a different subnet over a physically different network. This way we have two seperate I/O path’s to the iSCSI Target.

The EqualLogic does not support this, it only supports one virtual IP in one network, so multipathing gets a bit difficult.

On the Dell Wiki there is configuration howto, so I read that carefully.

The examples are for RedHat, but we are using Ubuntu, but that should not make a big difference, but it did….

Our storage network is in the subnet 192.168.32.0/19 where the virtual IP of the EqualLogic is 192.168.32.1. You should know, this is a virtual IP, in total we have three PS6000 nodes, which do some magic by responding with a different MAC Address for 192.168.32.1 towards each client.

One of our clients has the following configuration for the storage connectivity:

eth0      Link encap:Ethernet  HWaddr 14:FE:B5:C6:62:E0  
          inet addr:192.168.37.4  Bcast:192.168.63.255  Mask:255.255.224.0
          UP BROADCAST RUNNING MULTICAST  MTU:9000  Metric:1
          RX packets:27263332 errors:0 dropped:0 overruns:0 frame:0
          TX packets:25323692 errors:0 dropped:0 overruns:0 carrier:0
          collisions:0 txqueuelen:1000 
          RX bytes:24569609290 (22.8 GiB)  TX bytes:132201626154 (123.1 GiB)
          Interrupt:170 Memory:e6000000-e6012800 

eth1      Link encap:Ethernet  HWaddr 14:FE:B5:C6:62:E2  
          inet addr:192.168.38.4  Bcast:192.168.63.255  Mask:255.255.224.0
          UP BROADCAST RUNNING MULTICAST  MTU:9000  Metric:1
          RX packets:27246580 errors:0 dropped:0 overruns:0 frame:0
          TX packets:25335109 errors:0 dropped:0 overruns:0 carrier:0
          collisions:0 txqueuelen:1000 
          RX bytes:24549507448 (22.8 GiB)  TX bytes:132201622012 (123.1 GiB)
          Interrupt:178 Memory:e8000000-e8012800

It took some work to get this working. Bot NIC’s are connected to the same subnet, through different switches though.

The first problem you will run into is the ARP flux problem of Linux, I’m not going to write to much about this, on the internet there is more then enough information written about this topic.

I ended up with this configuration:

auto eth0
iface eth0 inet static
        address 192.168.37.4
        netmask 255.255.224.0
        post-up sysctl -w net.ipv4.conf.eth0.rp_filter=0
        post-up sysctl -w net.ipv4.conf.eth0.arp_ignore=1
        post-up sysctl -w net.ipv4.conf.eth0.arp_announce=2

auto eth2
iface eth2 inet static
        address 192.168.38.4
        netmask 255.255.224.0
        post-up sysctl -w net.ipv4.conf.eth2.rp_filter=0
        post-up sysctl -w net.ipv4.conf.eth2.arp_ignore=1
        post-up sysctl -w net.ipv4.conf.eth2.arp_announce=2

For Open-iSCSI I created two interfaces called ieth0 and ieth1 and routed my iSCSI traffic through them. How you can do this can be found at the Dell wiki.

But it did not work! I was able to ping the EqualLogic over eth0, but not over eth1. If I brought down eth0, it would work over eth1, but not vise versa. It took me a while to find it, but it’s due to a default setting in Ubuntu, done in /etc/sysctl.d/10-network-security.conf, this enables rp_filter (Reverse Path Filtering) by default, so I modified that file

# Turn on Source Address Verification in all interfaces to
# prevent some spoofing attacks.
#net.ipv4.conf.default.rp_filter=1
#net.ipv4.conf.all.rp_filter=1

And voila! My iSCSI multipathing started to work! My multipath shows:

[size=1.0T][features=1 queue_if_no_path][hwhandler=0][rw]
\_ round-robin 0 [prio=2][active]
 \_ 13:0:0:0 sdk 8:160 [active][ready]
 \_ 14:0:0:0 sdj 8:144 [active][ready]
eql-0-8a0906-4f2b9e409-2b800184d024d9db_c () dm-4 EQLOGIC,100E-00
[size=2.0T][features=1 queue_if_no_path][hwhandler=0][rw]
\_ round-robin 0 [prio=2][active]
 \_ 6:0:0:0 sdg 8:96  [active][ready]
 \_ 11:0:0:0 sdf 8:80  [active][ready]

This should work under Ubuntu 10.04. Took me some time to figure it all out, but now it’s working like a charm. But still, I prefer multipathing over two different VLAN’s and subnets, really odd that the EqualLogic does not support this!

The Roadster has arrived!

Finally, after waiting for a long time, the Roadster has arrived!

It’s not my car, but my colleagues car, but I think I’m just as excited about it as he is, what a great car!

A few weeks ago I wrote about the charging infrastructure we realized at our office. After one day, we already used 64kWh. Yes, we have been flooring the accelerator to the bottom 🙂

On the pictures above you see how the Roadster is charging. For now, 32A really seems to be enough at home/office, we have been flooring it all day and haven’t been able to drain the battery. Between our short drives it has been connected to the 32A connector, just charging for 1.5 hours gives you enough range to have fun!

1000km on my electric scooter

The previous post about my electric scooter was in Dutch, but this time I’ll write my update in English.

It has been some time ago since I made this picture, but it’s still valid. Due to the rain, snow and cold I haven’t been using the scooter that much, it’s at 1100km now.

After 1100km it’s still working fine, I had no malfunction or whatsoever, it just works!

I’ve been calculating how much energy I used. I know the battery is 1.8kWh and the specs say I should get some 70 ~ 100km on a charge, but let’s say it’s 50 (My record on one day is 67km).

For 1100km, I had to recharge 22 times. 22 times * 1.8kWh = 39.6kWh. Assuming the efficiency when charging is 85%, that brings the total amount of energy at 46.58kWh.

46kWh of energy! A liter of gasoline holds 10kWh, so I’ve used 4.6L of gasoline for 1100km. 1L:239KM, that is some efficiency!

The current price of a kWh is EUR 0.22, so these 1100km’s costed me only EUR 10.25!

Hopefully spring comes early this year, so I can start driving on my scooter again!

Preparing the charging infrastructure for the Tesla Roadster

As you might have read, a friend of mine (also my colleaugue) has ordered a Tesla Roadster, so we had to do some preparations for the charging infrastructure.

We live in The Netherlands (Middelburg, Zeeland) where we have two offices. Our main office is at the city center, but we also have second office which is outside the city and has a private parking deck, ideal for charging your Roadster!

One of the problems you have in Holland is that our whole infrastructure is based on 3-phases, while the Roadster only supports 1-phase charging. A lot of offices are connected to one or more phases with a 25A or 35A breaker (one breaker per phase ofcourse). Yes, we have 230V, so 35A should give you around 8kW of power, but it would still take 6.6 hours to fully charge the Roadster. But that is the situation here, you can’t use more than 32A (breaker is at 35A) on one phase. The 3-phase system has to be balanced, so when you want to use more then 32A, the load should be spreaded over the 3-phases.

Our office had one breaker of 35A, which was enough for just the office (5 desks and some servers), but it wouldn’t be enough for charging a Roadster. After contacting the utility company they told me that the first step was to go from 1x35A to 3x40A, so that is what we did.

That was our old main breaker, as you can see, there are two (Black and Grey) unused phases, the utility company came over and they connected the two extra phases and installed a 3-phase kWh meter.

After that was done we contacted a local electrician who could expand our fusebox. Since I made a reservation for a Model S, we choose to use both extra phases for charging EV’s.

This resulted in two charging stations of 230V 32A at the parkingdeck, both connected to their own 32A breaker. After there work was done, our fusebox looked like:

At the parking deck we installed two 32A single phase sockets, we have two parking places next to each other


The connector which we will be using to charge the Roadster is a CEE Form 32A Single Phase connector:

Compare that to the 16A connector:

While charging stations are being installed more and more, they are not everywhere. Every outlet in the wall is a charging station, so why not use it? I created some converters which would enable him to charge his Roadster anywhere:

I’m still waiting for some connectors to create a 3×32 to 1x32A converter, but it’s the same as the 3x16A to 1x16A converter showed above, but then a bit bigger.

For now, we only have to charge this Roadster:

To be continued!

Printing over IPv6 to a Canon MP495

Yesterday I posted that my new Canon Pixma MP495 also supports IPv6.

I had to test if I could print over IPv6, so I switched from IPv4 to IPv6 in the printer configuration (Note: You have to select IPv4 or IPv6, there is no Dual-Stack!). Before doing so I wrote down the MAC Address of the printer, I would need that to find it on my network, since the printer would get a IP from the Router Announcements my Linux router send out.

After turning on IPv6 the printer got his address within a few seconds and I was able to browse through the webinterface with Firefox.

Now I wanted to print over IPv6, the first thing I checked was if CUPS under Ubuntu 10.04 supported IPv6. It seems that CUPS supports IPv6 since version 1.2 and Ubuntu 10.04 is shipped with CUPS 1.4, so that was OK.

Then I created a DNS record for my printer, I pointed a AAAA-record to my printer, just so I dind’t have to type the address all the time. And DNS has been developed for NOT typing IP-Addresses, isn’t it?

Now I had to configure CUPS to print over IPv6, my goal was to do this via the GUI and not use any command-line stuff, that was even easier that I thought.

Adding the printer can be done in a few simple steps:

  • Go to System -> Administration -> Printing
  • Add a printer
  • Choose “Network Printer”
  • Choose LPD/LPR Host or Printer
  • In the host field, put the DNS record to your printer (or add the printer in /etc/hosts)
  • Then choose “Probe”
  • At “Queue”, select “ps”
  • Click on “Forward”
  • Choose “Provide a PPD file”
  • Download this PPD file and choose it as the driver
  • Add the printer!

Your printer settings should then look like:

Your are all set, the printer should work over IPv6 after this steps. Happy printing over IPv6!

Bonding, VLAN and bridging under Ubuntu 10.04

The last few weeks I spend a lot of time upgrading Ubuntu 9.10 systems to 10.04, these systems are SuperMicro blade systems with 2 NIC’s per blade.

By using bonding (active-backup) we combine eth0 and eth1 to bond0. On top of the bond we use 8021q VLAN’s, so we have devices like bond0.100, bond0.303, etc, etc.

Those devices then are used to create bridges like vlanbr100 and vlanbr303 to give our KVM Virtual Machines access to our network.

This would result in a setup like:

eth0 -> |
        | -> bond0 -> bond0.100 -> vlanbr100
eth1 -> |          -> bond0.303 -> vlanbr303  

Under Ubuntu 9.10 and before this setup worked fine, but under Ubuntu 10.04 we noticed that the network inside the virtual machine wouldn’t work that well. The ARP reply (is-at) would be dropped at the bridge and didn’t get transferred to the Virtual Machine.

If I’d set the arp manually inside the VM, everything started to work, but ofcourse, that was not the way it was meant to be.

After hours of searching I found a Debian bugreport, that was exactly my problem!

It seems that Ubuntu’s ifenslave-2.6 package (1.10-14) under 10.04 has exactly the same bug. Backporting the ifenslave package from 10.10 (1.10-15) fixed everything for me, my virtual machines would start to work again.

I created a bug report for this at Ubuntu, hopefully they will fix it in 10.04 rather quickly.

For now, if you have the same problem, just backport the ifenslave package from 10.10 to 10.04

Canon MP495 supports IPv6!

While we are nearing the end of the IPv4 pool, a lot of consumer electronics (even Enterprise routers) do not support IPv6.

Today I bought a new printer to use at home. It had to be a printer which would work over WiFi, after some time at the local store I choose the Canon Pixma MP495, a simple printer, just what I needed.

After configuring it (which I had to do via Windows), I browsed to the IP of the printer and saw that it supported IPv6! (Even IPsec) Wow, that is something you don’t see often.

Haven’t tested it with my Ubuntu 10.04 laptop yet, but it is nice to see manufacturers start implementing IPv6 in ordinary products!

Quickcharging an EV, how much power do I need?

There are two points on which people criticise Electric Vehicles (EV):

  • Their range
  • The time it takes to charge them

The first can be solved by ‘simply’ adding a larger battery, this can be in physical size or having more Wh’s (What Hours) per Kilogram.

Filling the tank of a car with a ICE (Internal Combustion Engine) takes about 3 minutes, it is something we are used to. But charging a EV can take up to several hours.

A lot of people say that they will start driving an EV as soon as the range gets better or charging can be done fast, like they are used to right now.

Charging a EV really quick has a few problems which can not be solved that easily:

  • The batteries can’t be charged that fast (Yet)
  • It takes a lot, really A LOT of energy to charge that fast

Take a Tesla Roadster for example, this car has a 53kWh battery pack. 53kWh equals to 190800000 Joule (53 * 1000 * 3600). If we want to charge this battery in 5 minutes, we would need to put 636000 Joules per second into that battery. 636000 Joule equals to a current of 636kW (636000 / 1000).

A simple micro-wave in your kitchen uses about 1kW of energy, charging a EV that fast would use the energy of 636 micro-waves! That would put a lot of stress in the grid, too much stress.

If we charge the EV in 10 minutes we would ‘only’ require 318kW of energy, 20 minutes 159kW and 30 minutes would take 106kW of energy. Those are still high numbers, but they come closer to what is possible.

Take the Nissan Leaf for example, this car has a 24kWh battery which can be charged to 80% in 30 minutes, let’s calculate how much energy we would need.

80% of 24kWh is 19.2kWh, that equals to 69120000 Joule (See my calculations above). 30 minutes equals to 1800 seconds, so charging in 30 minutes requires 38400 Joule per second, or 38.4kW of energy.

Charging that quick will mostly be done at 480 Volt. 38400W / 480V = 80A, that is how much we need to charge a Leaf that fast.

3-phase 480 Volt is not that hard to find / get here in Europe, so charging a Leaf that fast is feasible on a lot of locations.

Not only will quickcharging put a lot of stress on the grid, it would also be unsafe for humans to connect such cables. If the current which flows through that cable would be exposed to a human, you would instantly be killed, no doubt.

Quickcharging a EV has a few drawbacks, let’s sum them up:

  • Bad for the battery

  • Puts a lot of stress on the grid
  • It would be very dangerous for humans to handle such cables

But why would we want to do that? A EV can be charged everywhere! Your car will be parked for most of the time during the day. Those are all possible charge possibilities, we should work towards utilizing those moments. Ofcourse, there will be some places where quickcharging will be possible, but I think they will be placed on strategic locations like road-side restaurants.

I think we need to let go of the concept of filling up our car within a few minutes. In the future battery technology will improve and we will start to see battery packs ranging from 75kWh to 150kWh, which will bring us where we want to go, charge there and get back again.

Tesla Roadster coming soon!

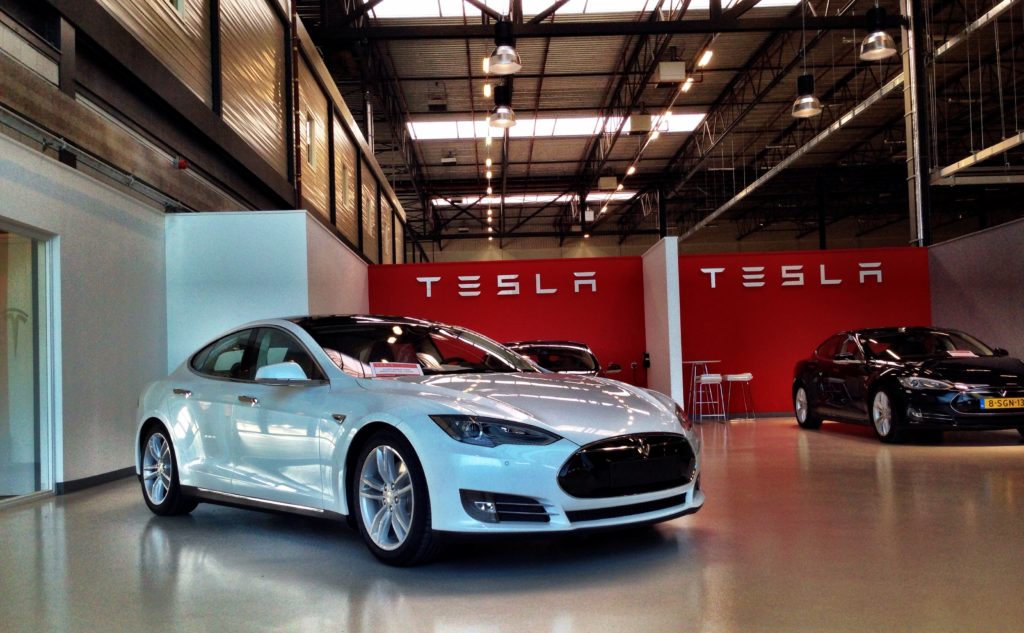
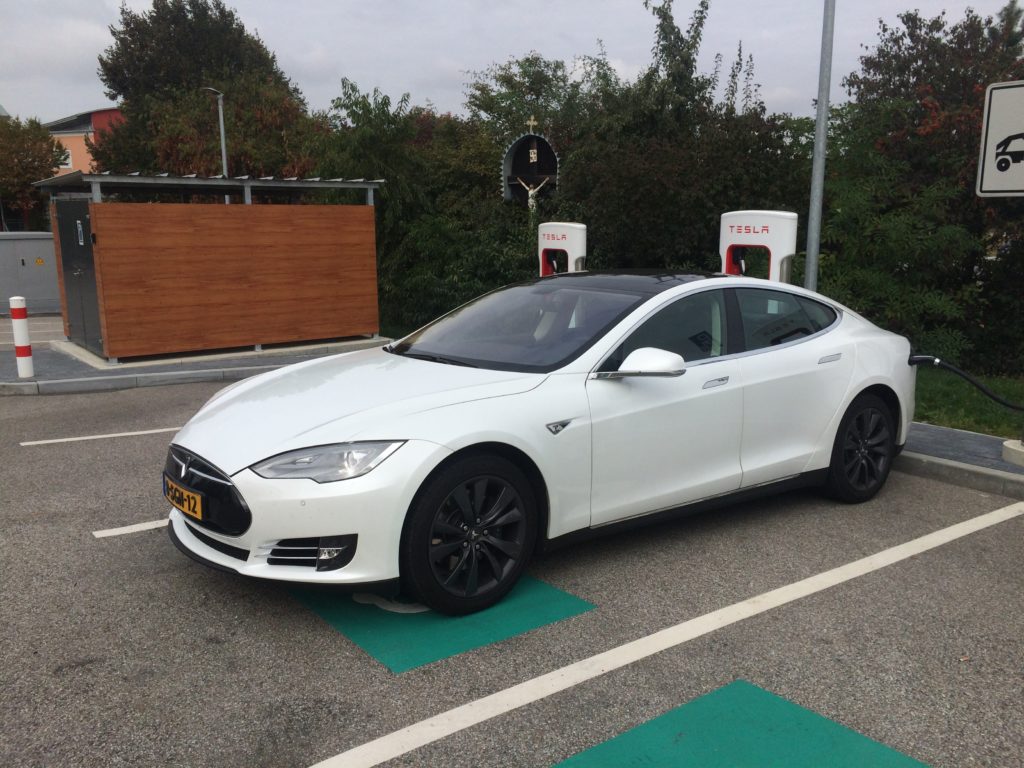
While I’m waiting for my Tesla Model S a friend of mine just bought his Tesla Roadster 2.5, cool!

He choose the Fusion Red color with the executive interior, what a gorgeous! A few pictures below.

While it’s a beautiful machine, it’s also fast and eco-friendly! If you read my blog you might notice that I’m into EV’s, not because I’m such a “environment hippie”, but I simply like the technique behind it.

Right now we are working on getting the fuses at our office upgraded from 1x 35A (230V) to 3x 35A, so that we can use 32A’s charging the roadster.

One of the interesting things is that we live in the Southern part of Holland (Zeeland, Walcheren to be exact) and we need to travel to Amsterdam quite often. While the roadster should get there (220km) with it’s 350km range, we are curious how much energy we will be using, since it’s all highway (120km/h) driving.

In Amsterdam we will also create a 32A socket for charging the roadster, so that we can make the round-trip without problems!

I’ll keep you updated!

Make-kpkg fails due to a ‘+’/plus appended to the kernel version

This weekend i tried to compile a patched 2.6.35 kernel and wanted to install this on multiple machines. But it kept failing when the .deb files were created.

make-kpkg kept complaining that the kernel version, 2.6.35-rbd+ was not in the “control info”.

After some searching i found out this was due to CONFIG_LOCALVERSION_AUTO not being set.

Setting this to ‘y’ solved it for me, now my kernel compiled and got packed the way it should.