Disclaimer
I am not a battery expert nor am I claiming to be one! I got all my information from the internet and I think designed and build my battery correctly.
Always use common sense and do not blindly trust the information I (or anybody else) am/is putting on the internet.
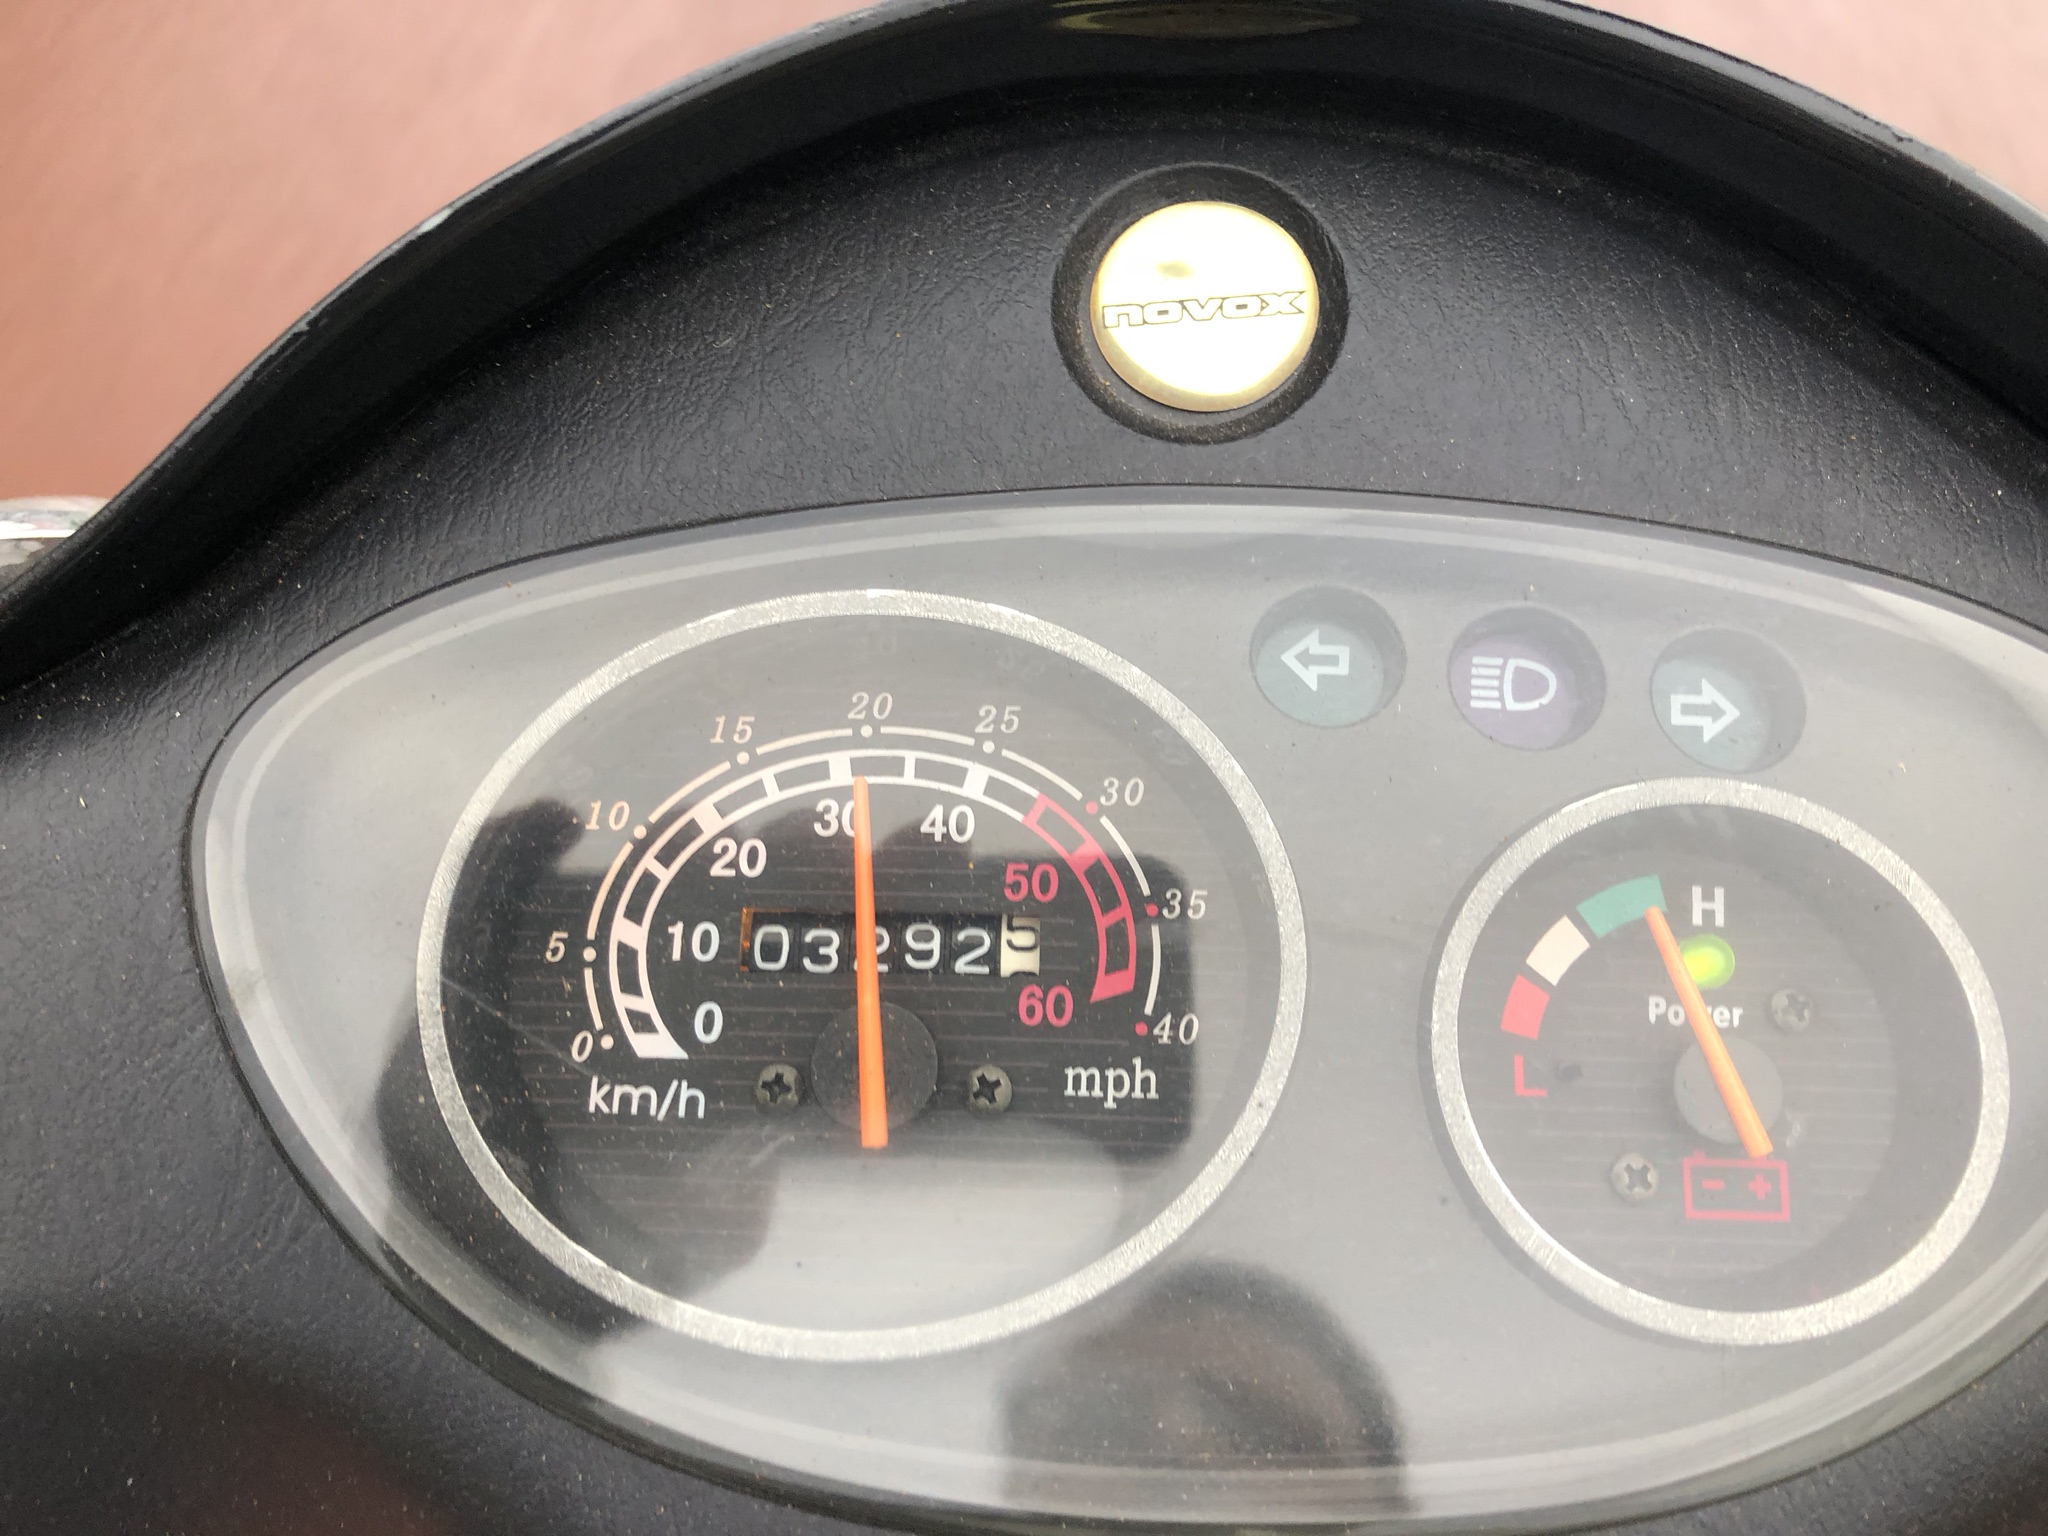
Novox C20
In 2010 I bought a Novox C20 25km/h electric scooter. Novox was (they are gone) Dutch manufacturer of electric scooters. It seems that they (partially) bought the scooters in China and rebranded them to their brand Novox. It seems that many parts of it were actually from the Chinese manufacturer Tysong.
I previously wrote a dutch post and a english post about this scooter.
The model I have is the 25km/h version equipped with a 2.5kW electric motor with 4 12V 40Ah batteries.
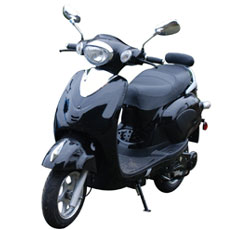
Realistically this scooter had a range of about 35 ~ 40km before running out of juice.
25km/h
In the Netherlands we have two types of scooters. We call them snorfiets (25km/h, blue license plate) or bromfiets (45km/h, yellow plate). My scooter is a snorfiets which means I do not have to wear a helmet.
The primary purpose for the scooter is going to the beach in summer, use it when it’s nice weather and when I want to go somewhere which is a bit to far to go by bicycle.
4x 12V 40Ah
Originally the scooter had 4 12V 40Ah batteries which (in theory) is roughly 1.9kWh of capacity. These were lead acid batteries and each weight 12kg, so the total weight of the batteries was nearly 50kg.
Over the years the range and performance declined until the batteries died completely. After reading about DIY batteries using 18650 Lithium batteries I decided to build my own!
Designing the battery
After I decided to design and build my own battery I went out to gather information. I watched endless hours of videos on YouTube and I also bought a book:
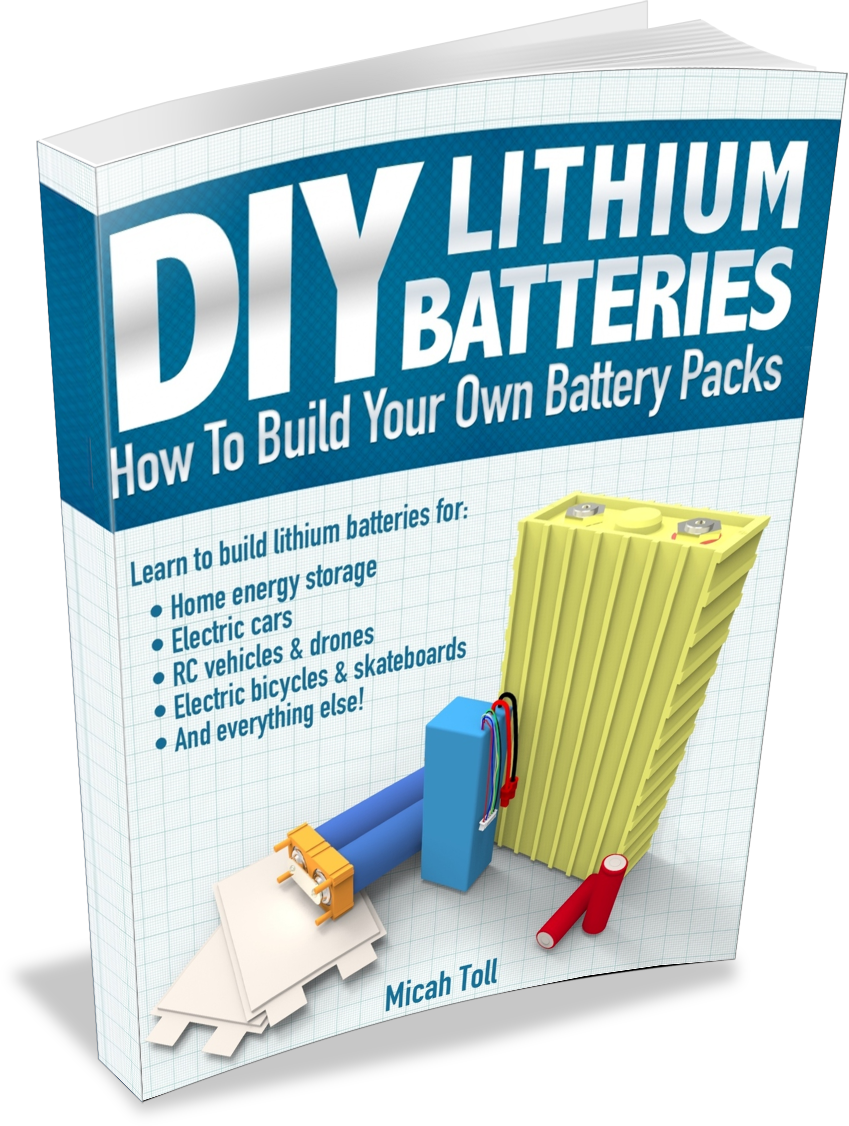
With the information from YouTube, that book and other sources I designed a 14S15P battery.
14S15P
A 14S15P configuration means 14 Cells in Series and 15 Cells Parallel. The total amount of cells would be: 210 (14*15).
The nominal voltage of the battery would be 50.4V (3.6*14) and the maximum voltage 58.8V (4.2*14).
The existing controller in the scooter would not be able to handle that voltage so I would have to swap the controller. That’s something I’ll explain in a upcoming post.
On AliExpress I searched for 18650 battery cell holders for a 14S5P pack and ordered three sets. Combining them would give me a 14S15P battery pack which would physically fit in my scooter.
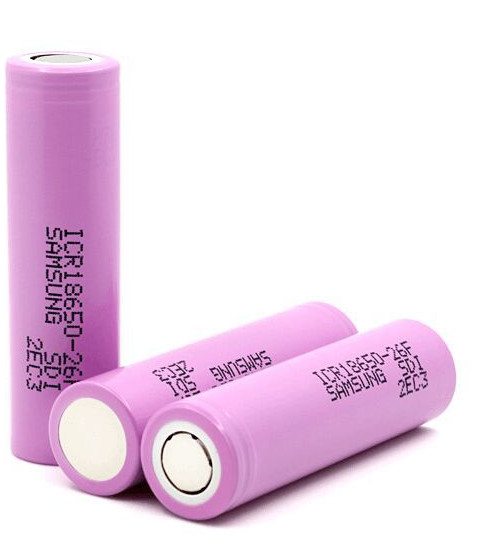
Samsung INR18650-35E
During my search for the correct cell I selected the Samsung INR18650-35E cell. This cell has a capacity of 3.500mAh and 210 of them would sum up to a total capacity of 2646Wh (3.6 * 3500 * 210 / 1000) or 2.6kWh for my scooter.
Each cell can deliver 10A of current so 15 of them in parallel would be able to provide 150A of current. With a nominal voltage of 50V that would be 7500W or 7.5kW.
As the motor in my scooter is rated for 2.5kW I would only need 50A of current. 50A or 2.5kW was my design target. Anything above it would be a bonus.
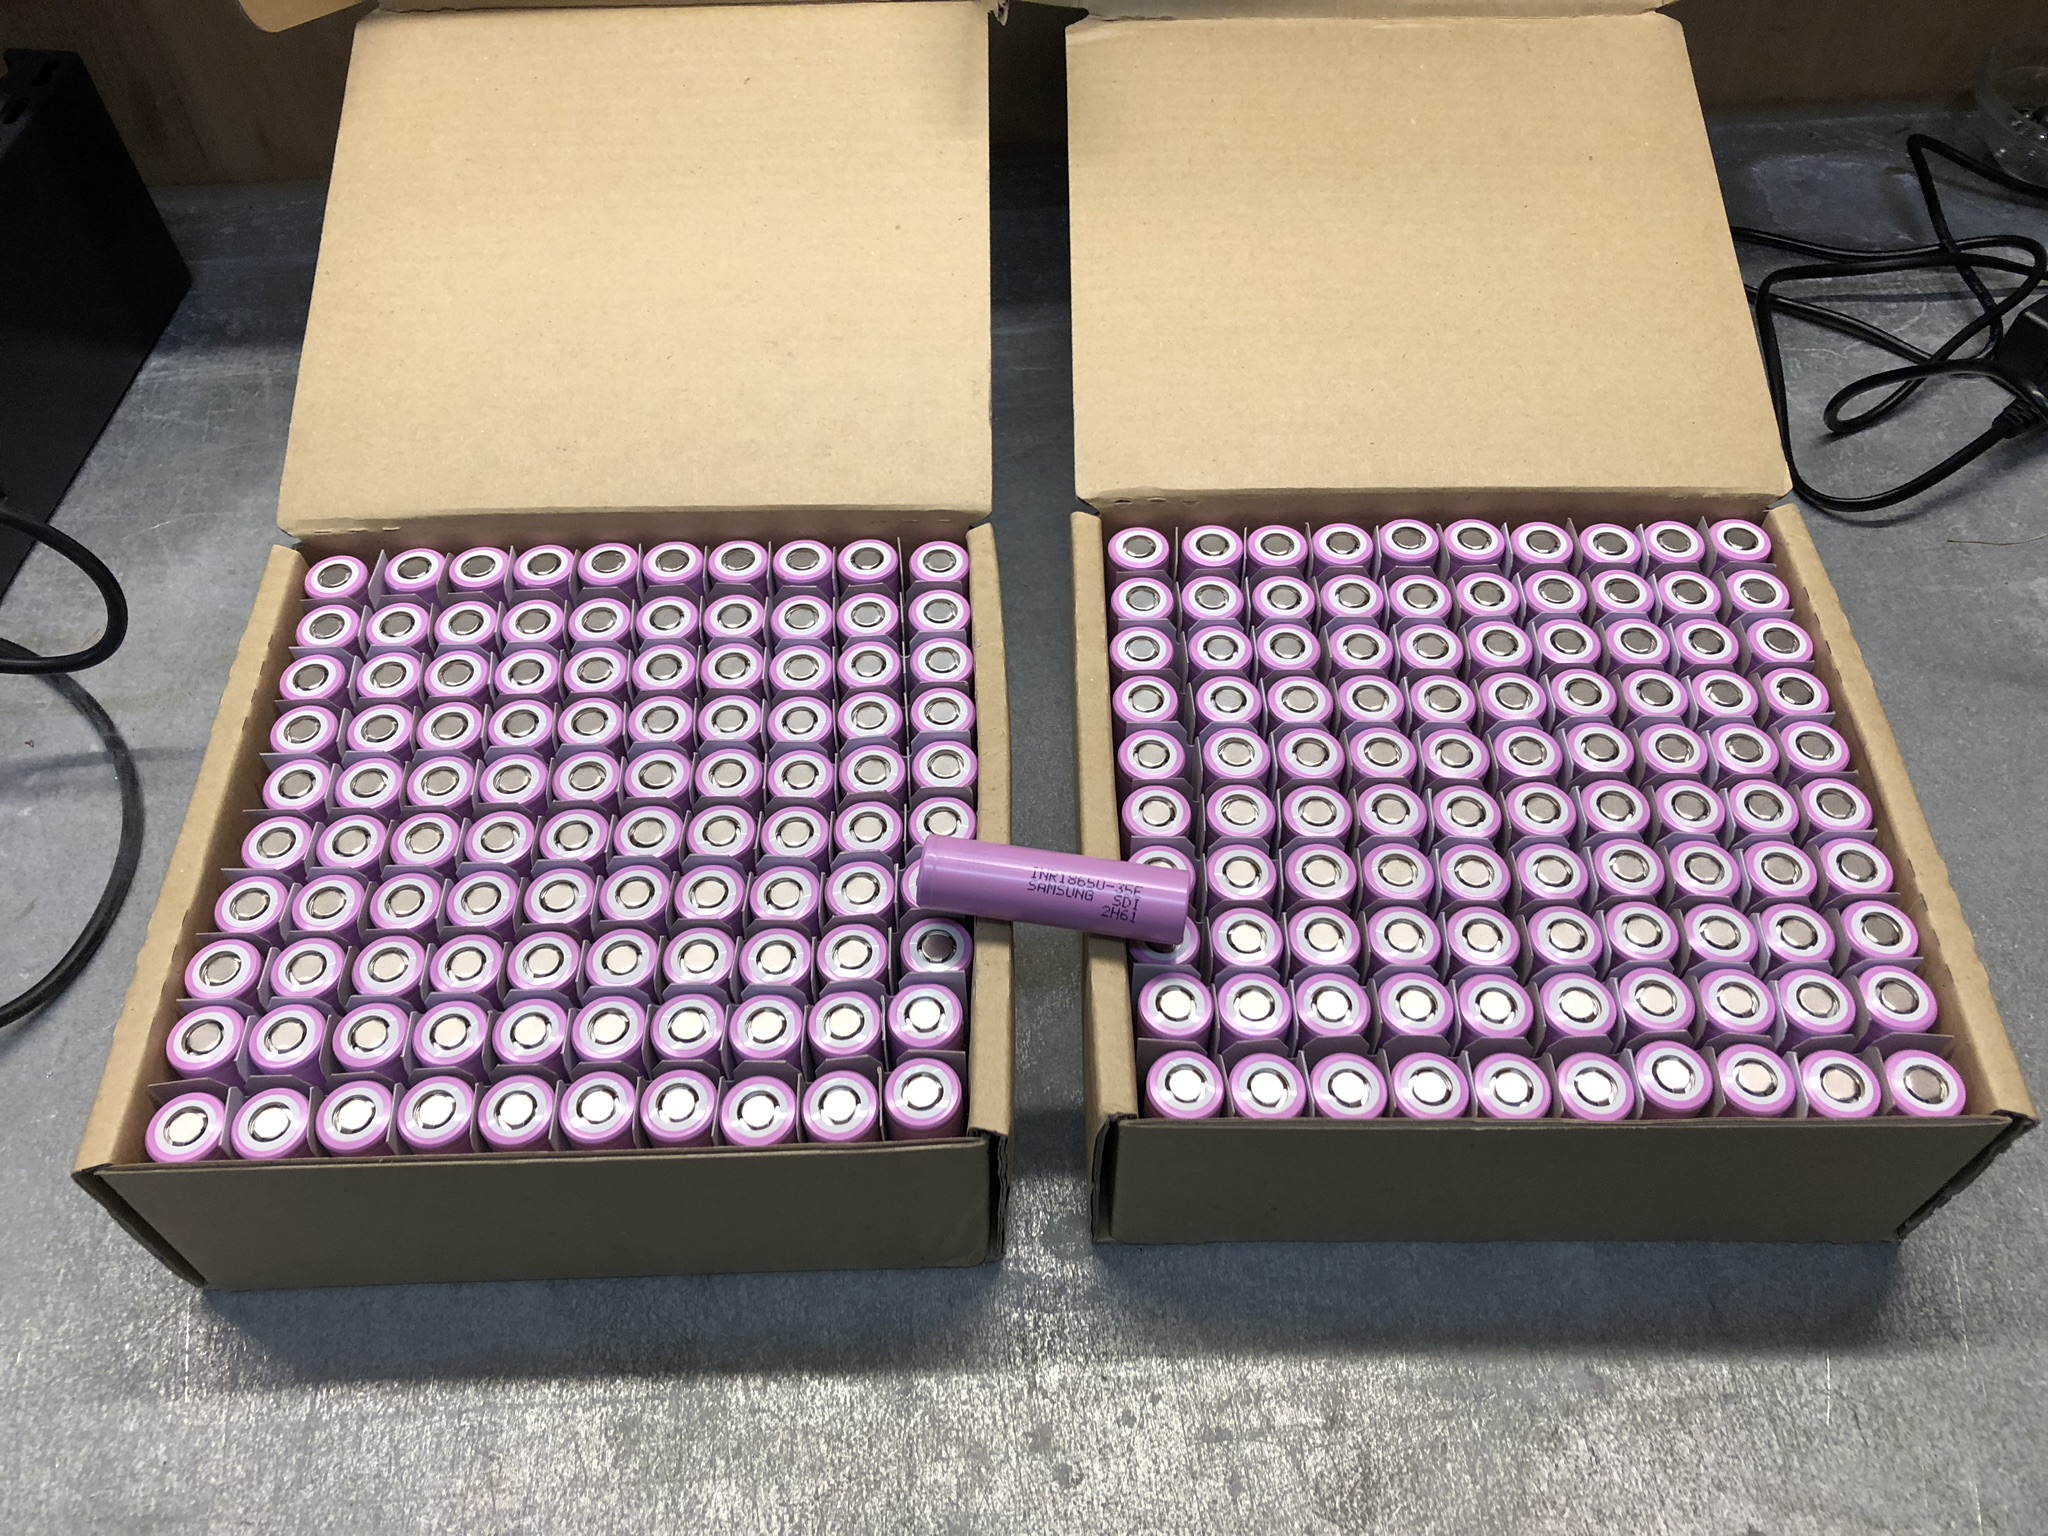
After searching I found the Dutch shop Nkon which has a good reputation and was able to deliver the INR18650-35E for a good price. So I ordered 220 cells (10 spare).
Next to the cells I ordered 15m of 0.15mm Nickel strip to use when spotwelding all the cells together.
Battery Management System
The next important thing was a Battery Management System (BMS). A BMS makes sure the cells stay in a healthy state by doing various things:
- Protecting them against under -or overvoltage
- Protecting against a high charge or discharge current
- Making sure the cells are balanced
There are good and bad BMS out there. At first I thought I’d buy one on AliExpress but after reading on the dutch forum of Tweakers in the topic about electric scooters I purchased a TinyBMS s516 from Energus Power Solutions. It’s not the cheapest, but it does do its job: Protecting my 210 cells!

In addition to the BMS I ordered:
- USB programming cable
- Temperature sensors
- Bluetooth module
- Balancing Wires
Spotwelding
To connect all the cells together you need to use spotwelding as soldering would damage the cells badly due to the heat.
At first I bought a Sunko 709A spotwelder on AliExpress. Short story: A waste of money!
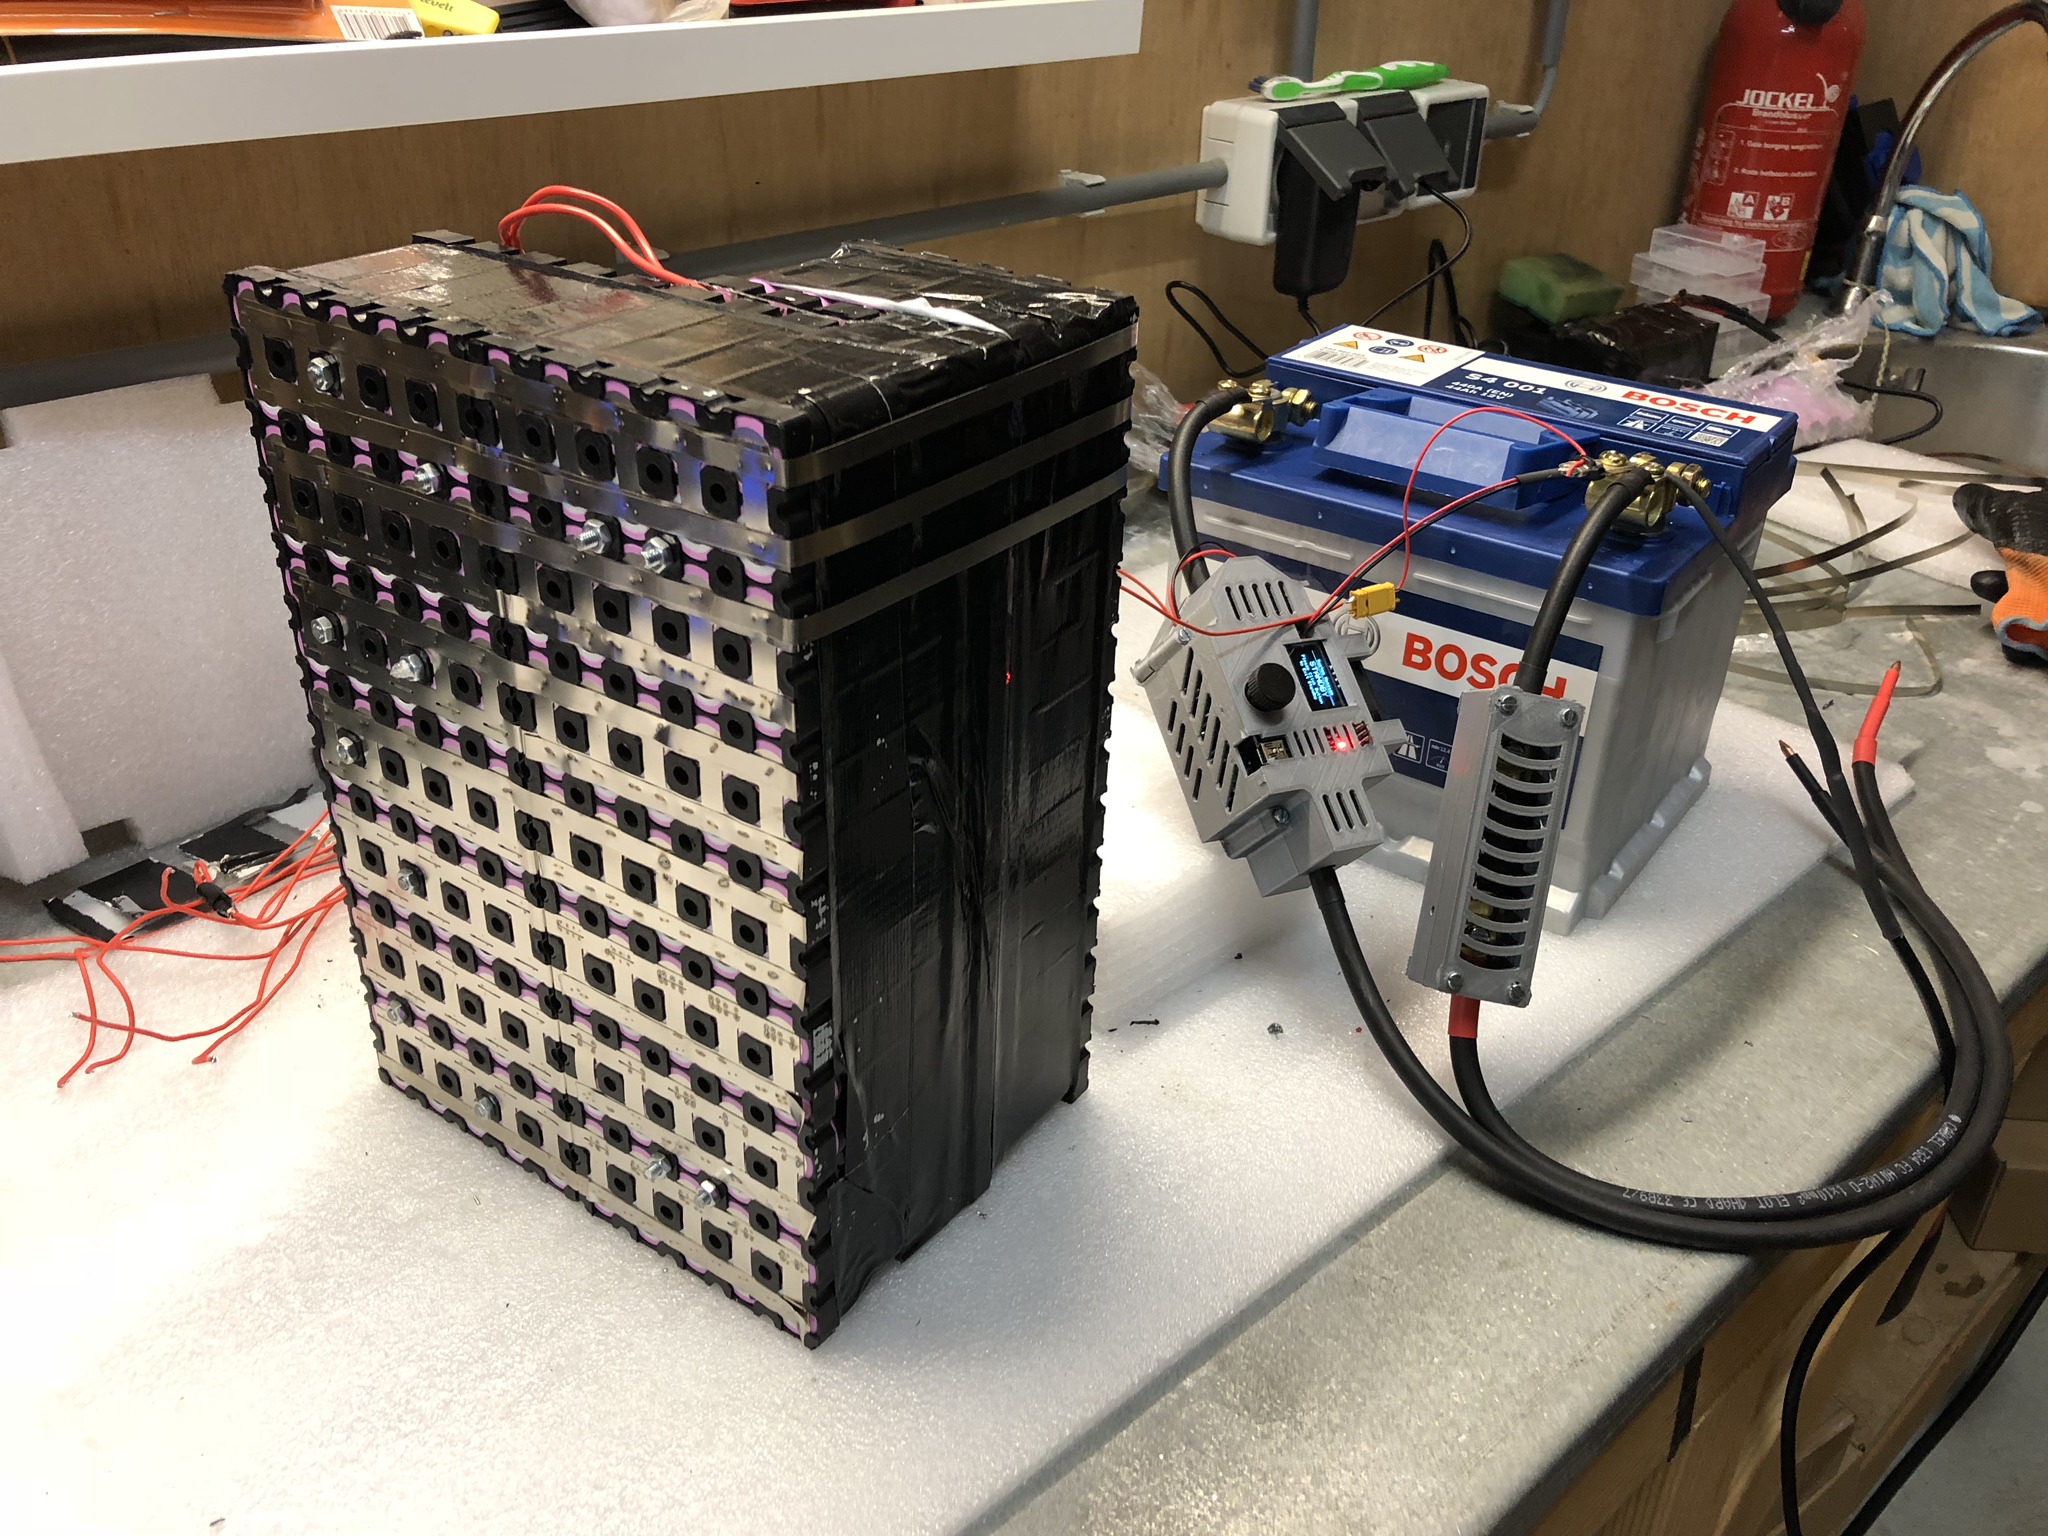
After searching a bit more I found a Arduino based spotwelder made by Malectrics in Germany.
This spotwelder works great with a Bosch 12V 44A 440A car battery. I made a short video and put it on YouTube.
In addition a picture of the spotwelder connected to the battery.
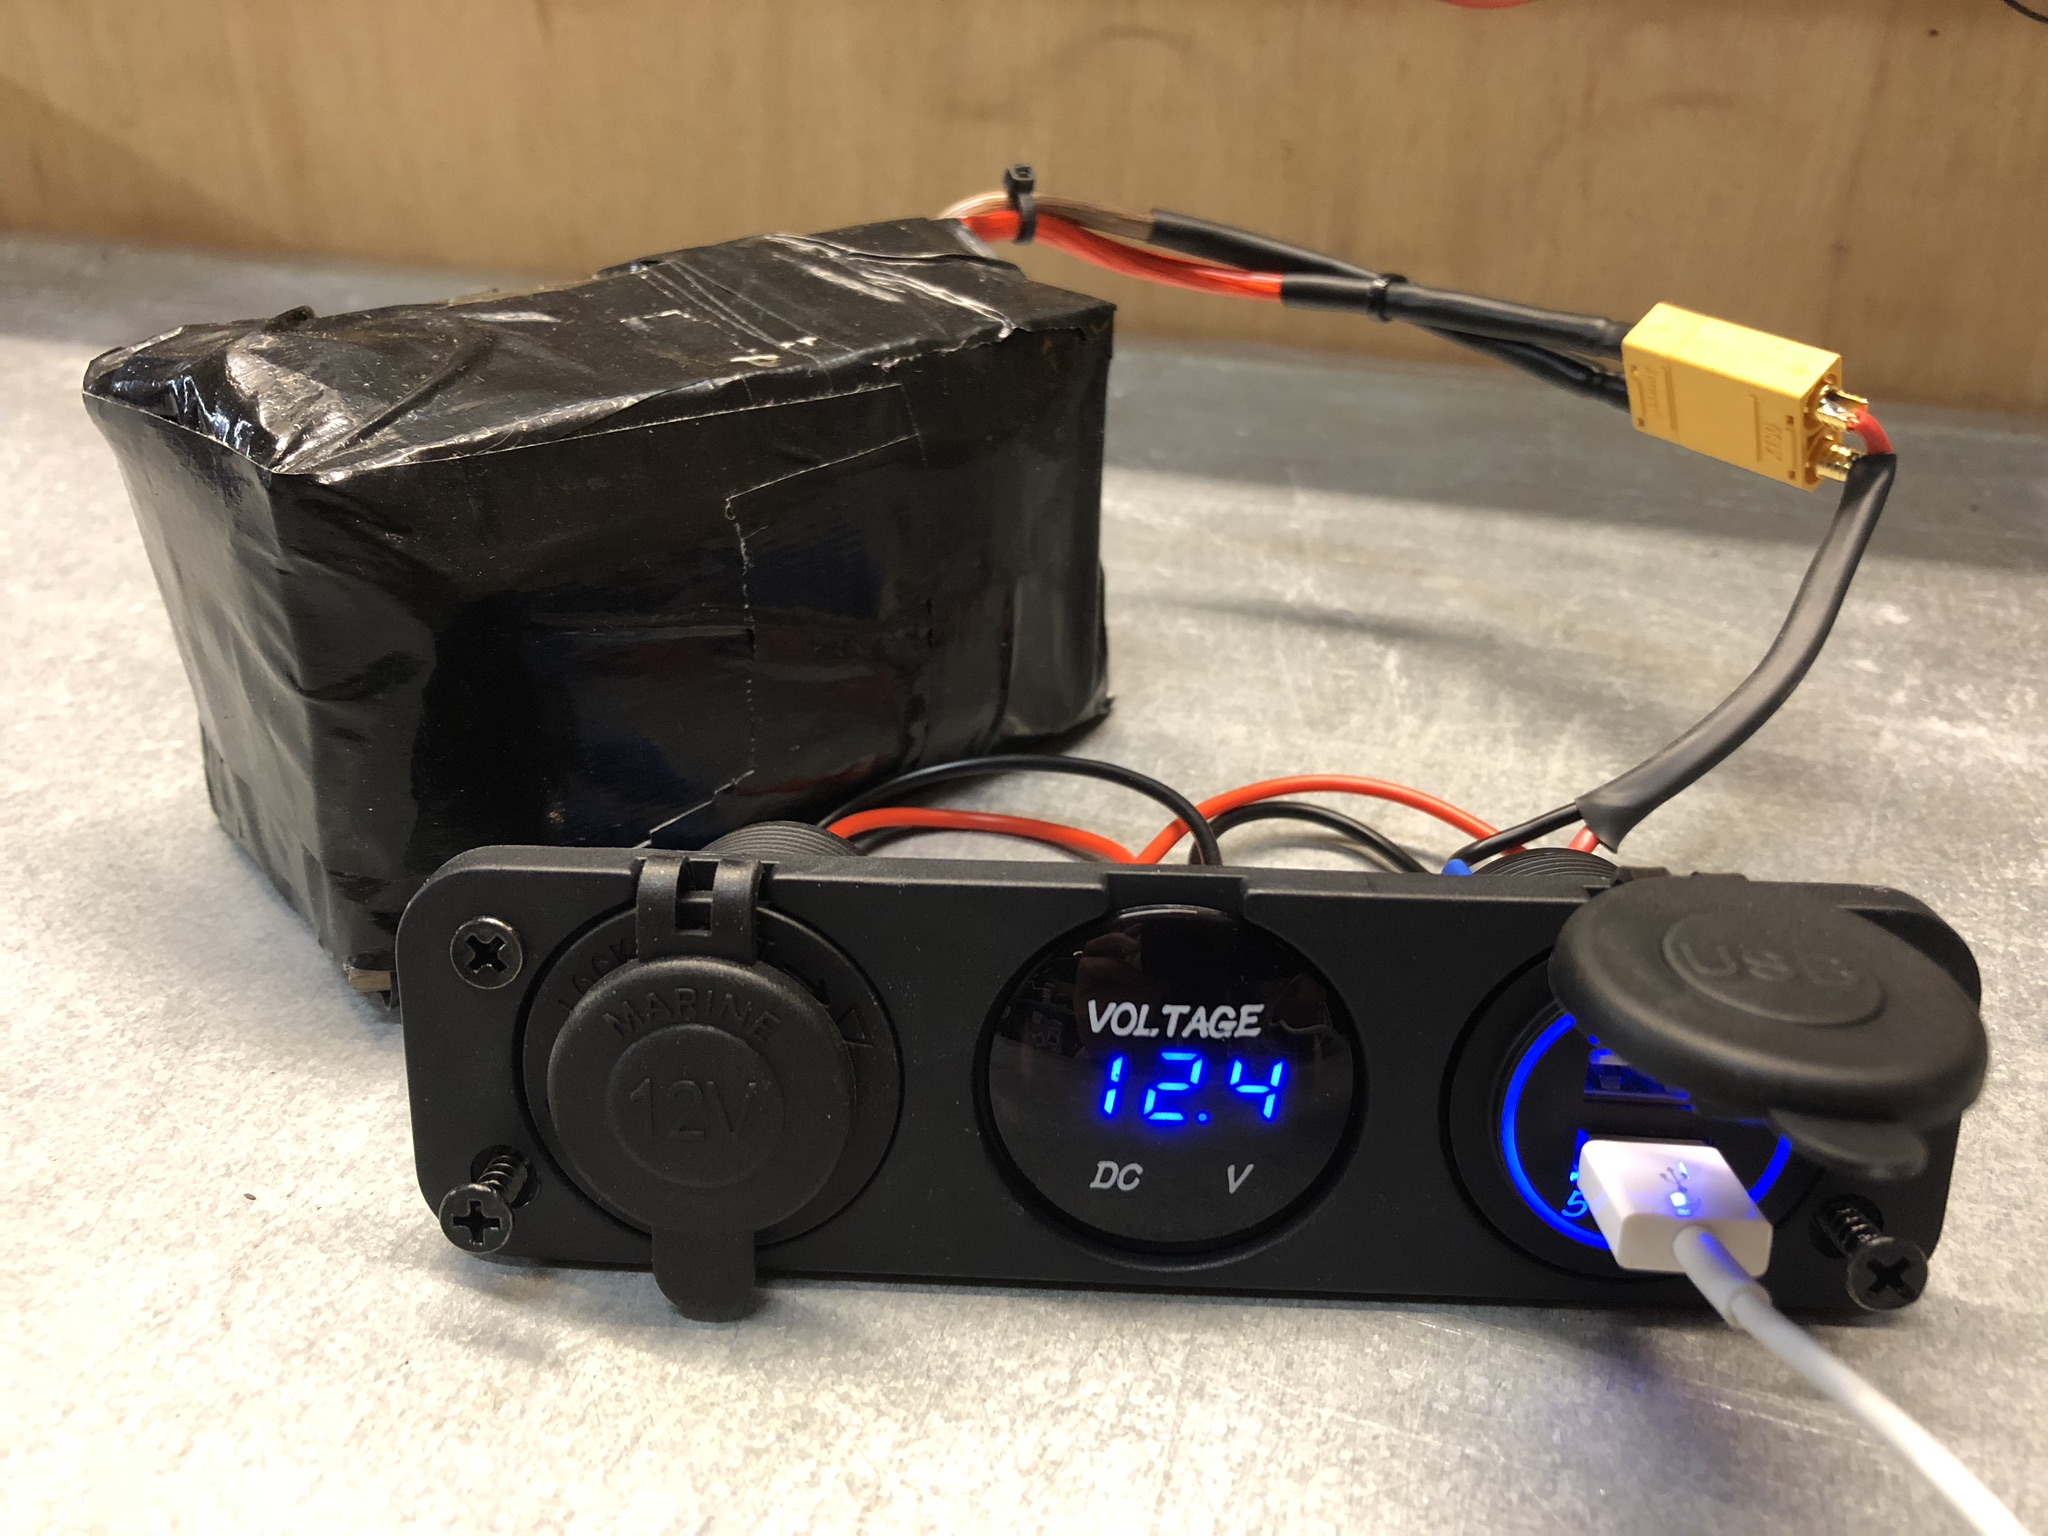
I never used a spotwelder before nor did I build a battery. I started with building a small 3S5P 12V battery to test my welding skills.
Safety First! Remember to wear gloves and eye protection when working with a spotwelder and/or batteries. Also make sure there are no loose tools or wires on your workplace and again, use common sense!
I am now using this battery as a DIY powerbank with a 12V and USB output.
Building it
After I got some practice on building the small battery I just started working on the big battery. Cutting nickel to length and I started to build the blocks.
This took a lot of time, probably over 40 hours as I slowly build my first big battery and still needed to learn.

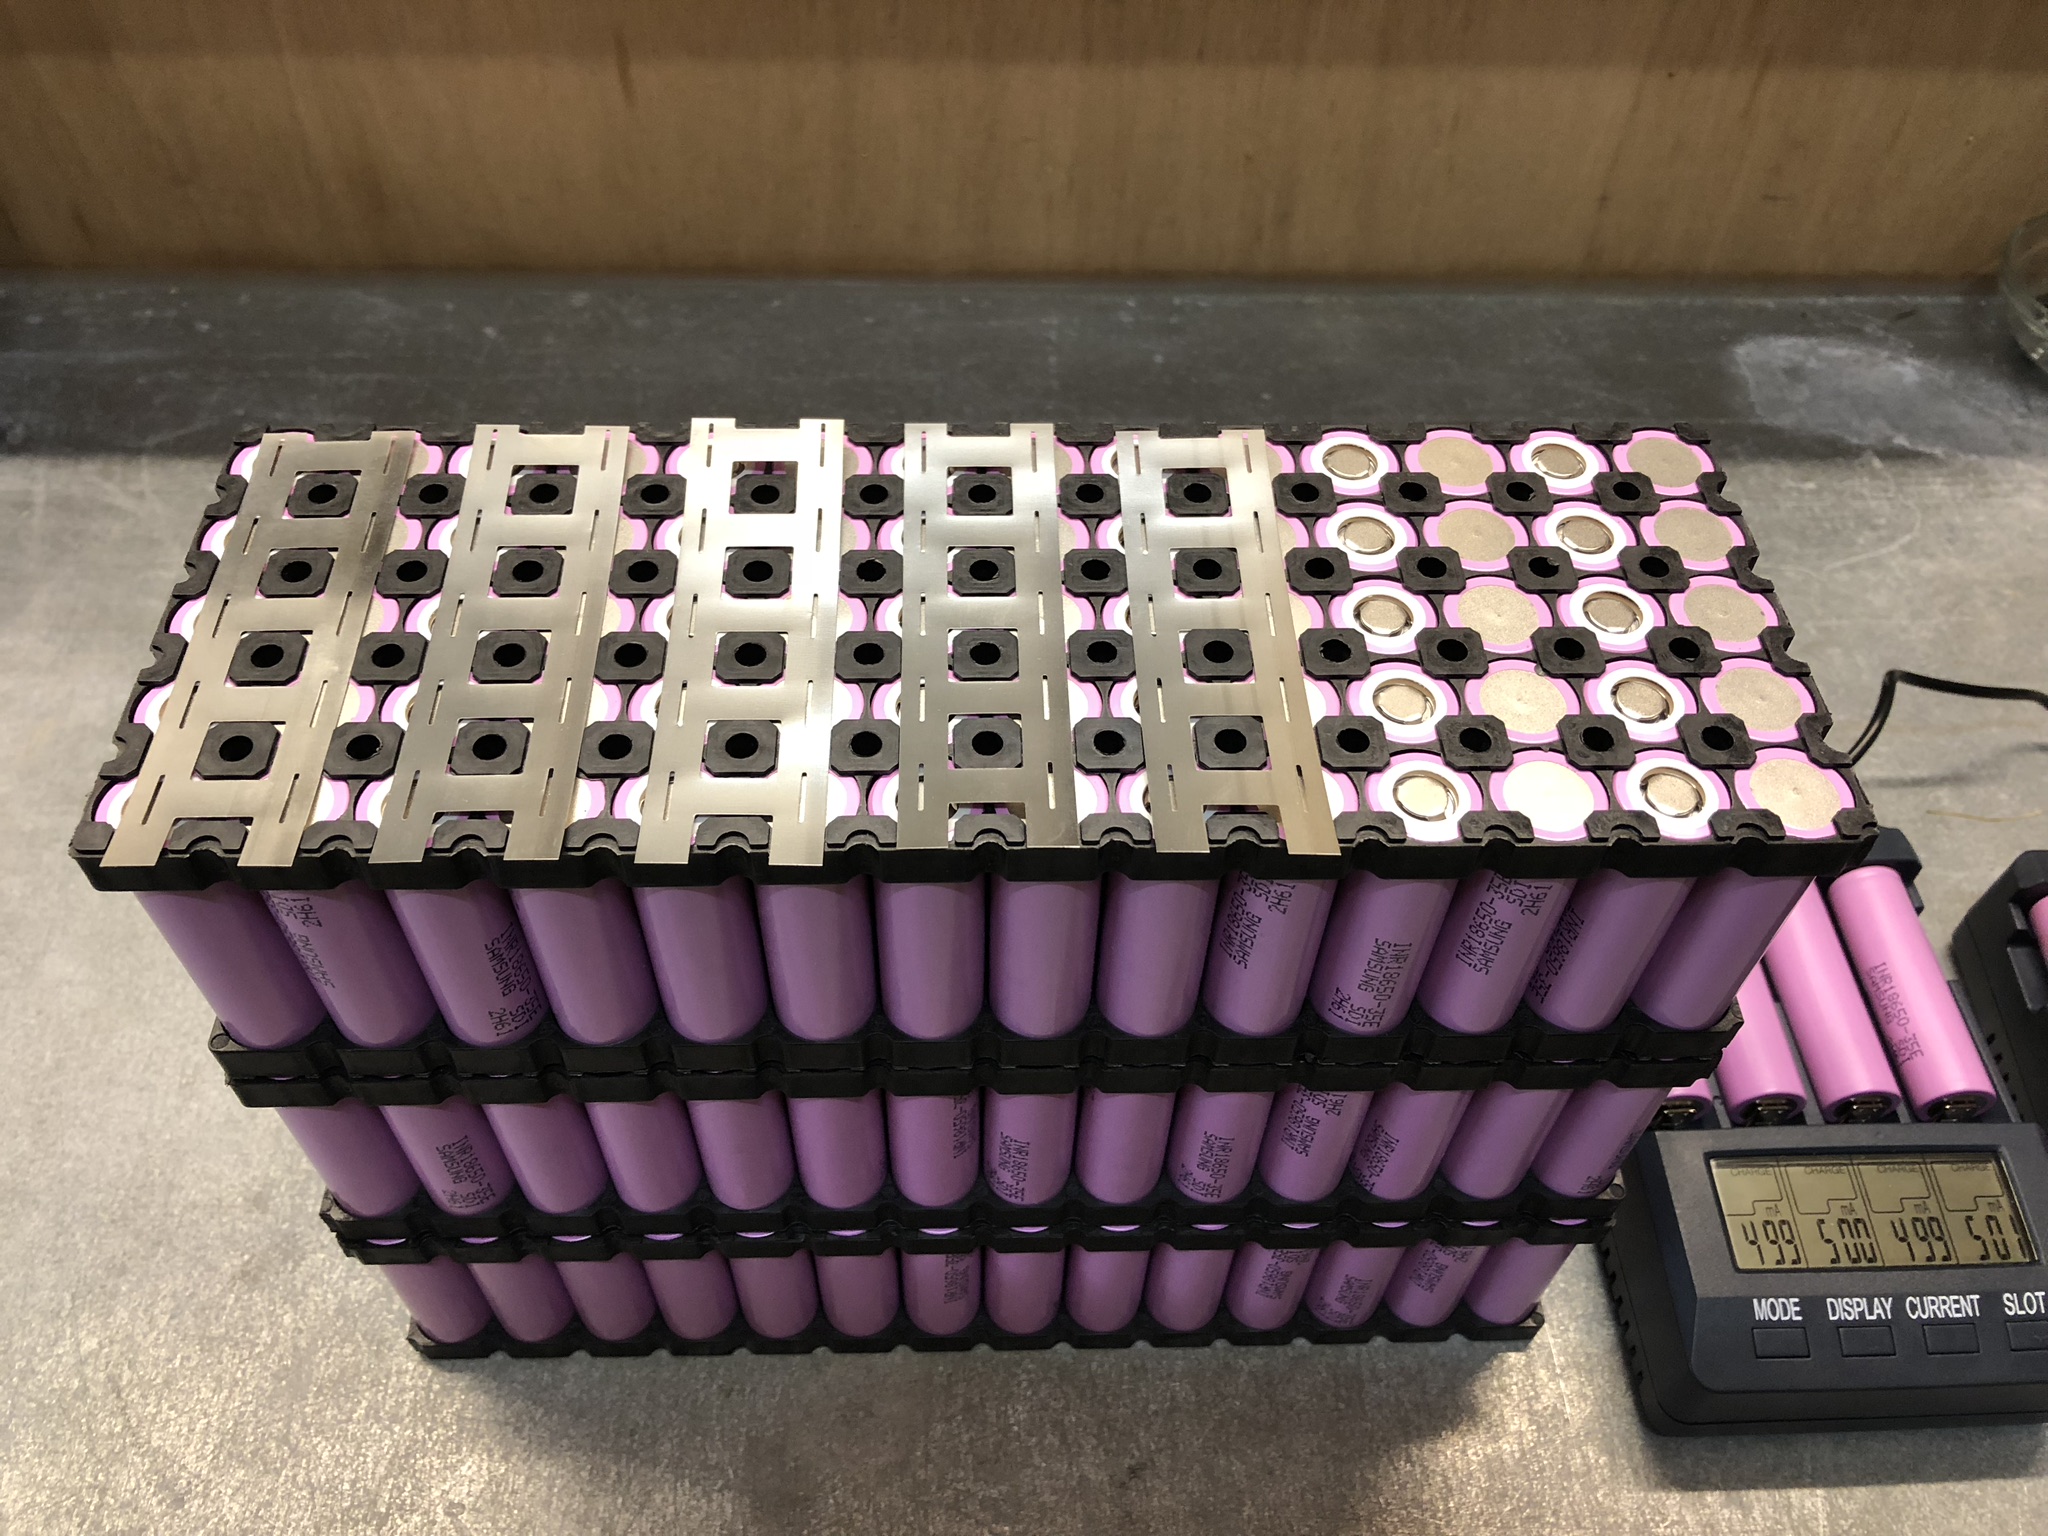
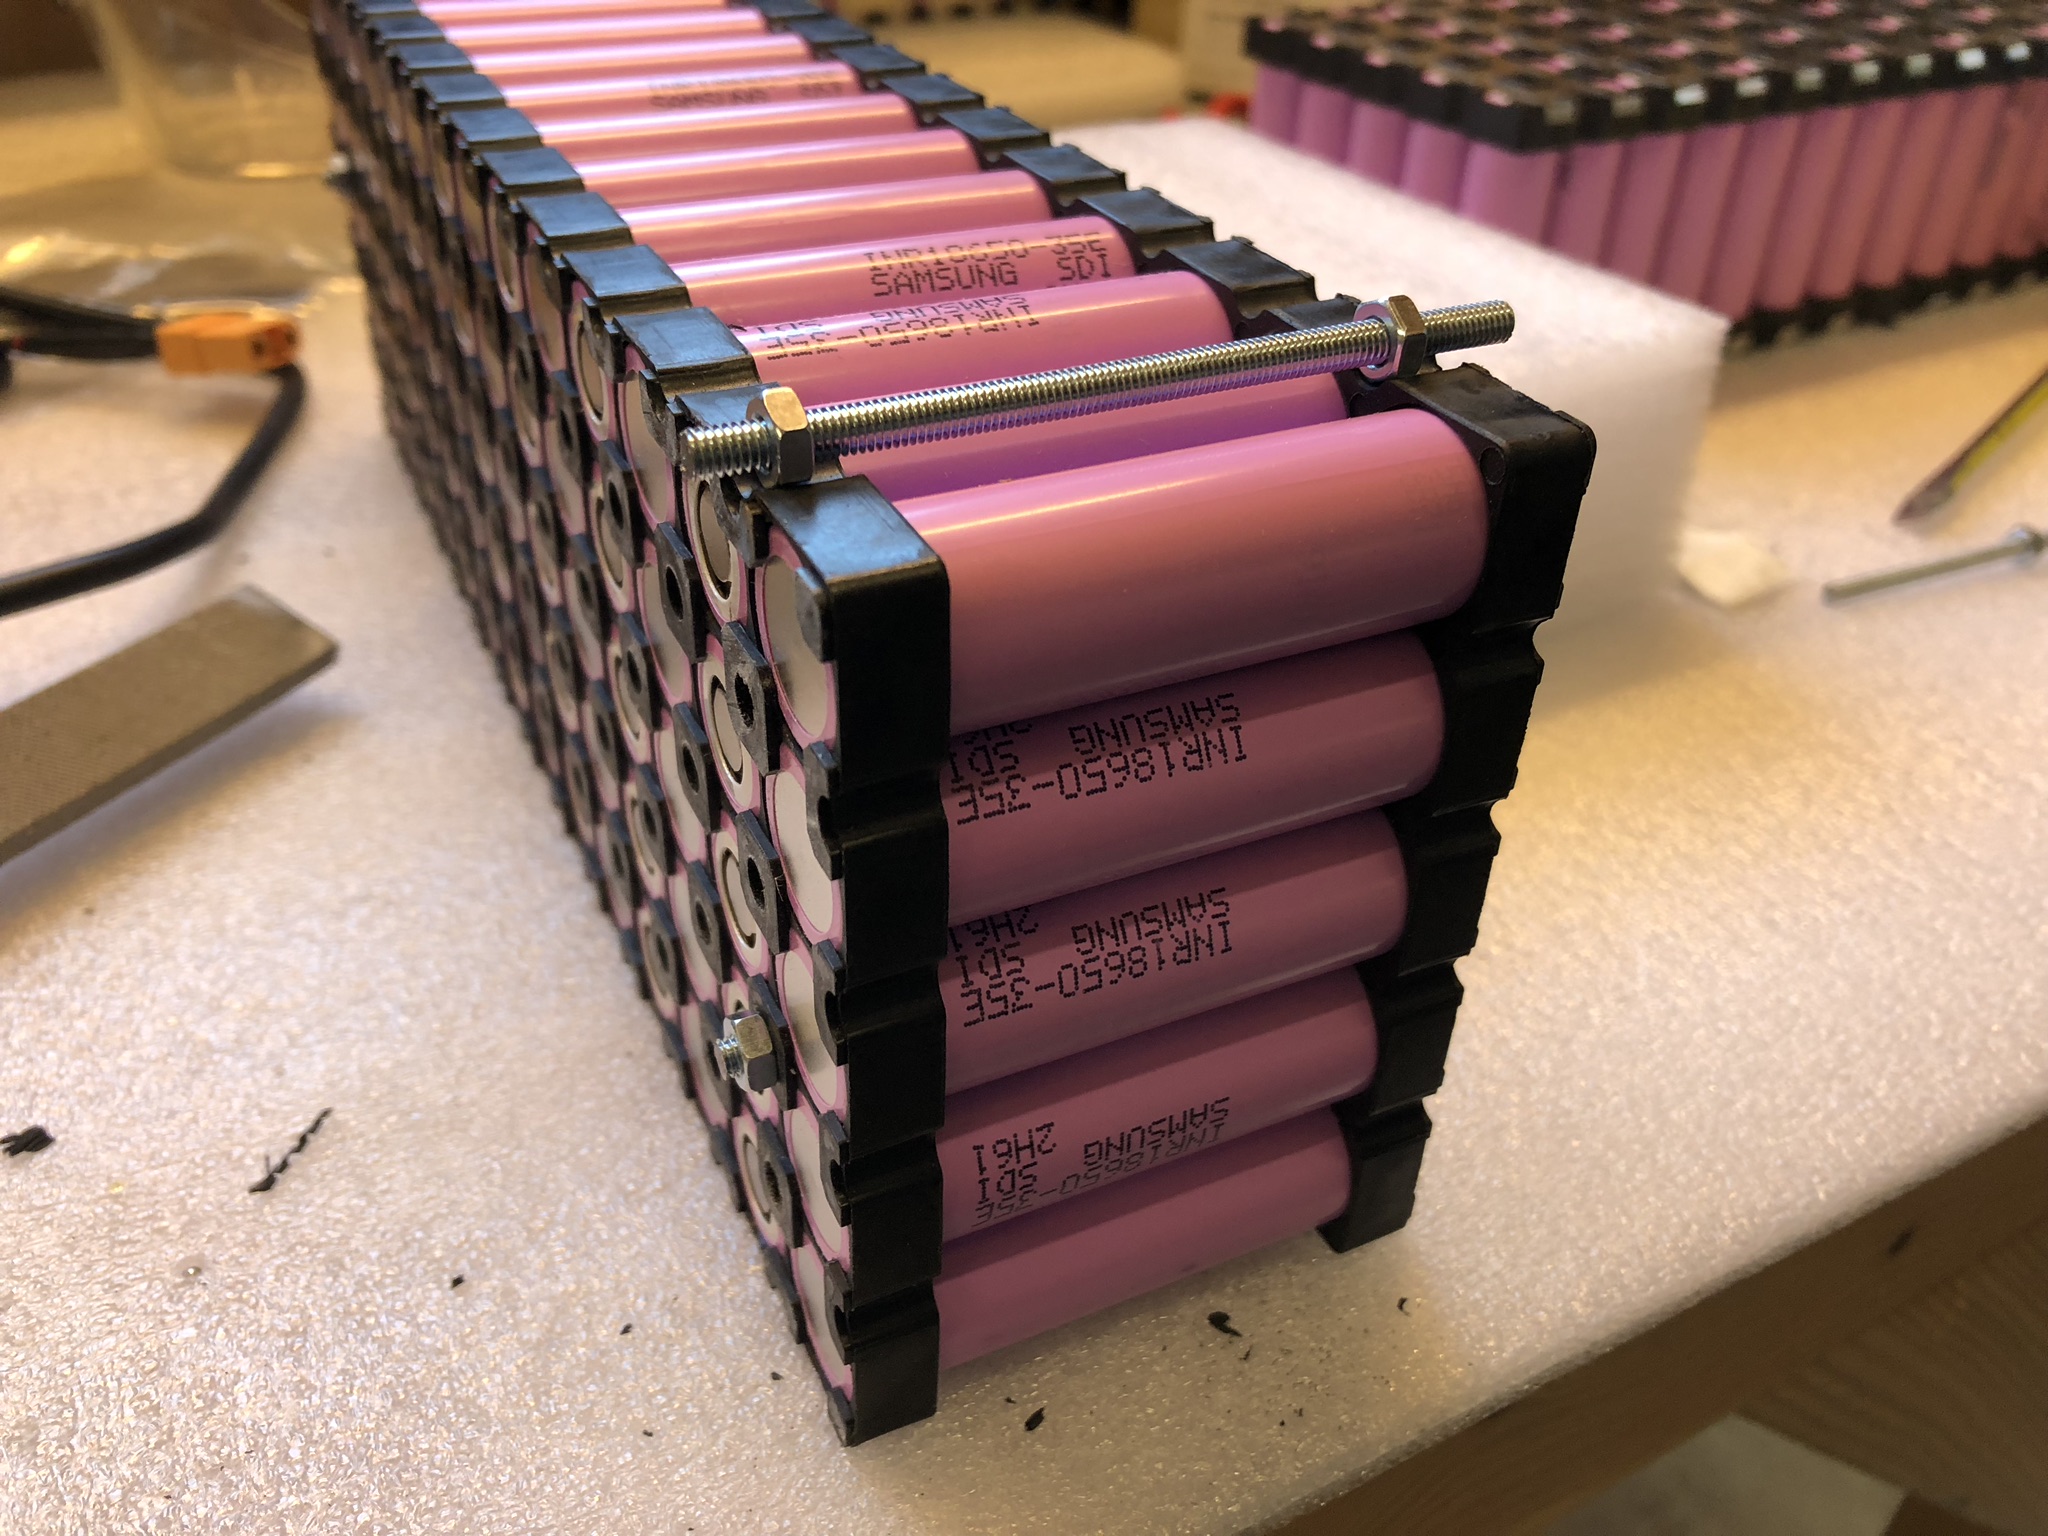


I ended up stacking two strips of 0.15mm nickel on top of each other to handle my 50A target current.
You can also see the balancing wires of the BMS go to the positive terminal of each series. The manual of the BMS has clear instructions on how to wire them.
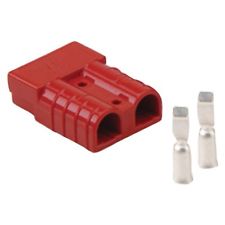
From the Nickel I went to 8AWG wire which I connected to a SB50 connector. Using that connector I would connect the battery Plus and Minus to the BMS and the BMS to the controller. The SB50 connector is rated for 50A and thus meets my requirements. I got the connectors from a local supplier.
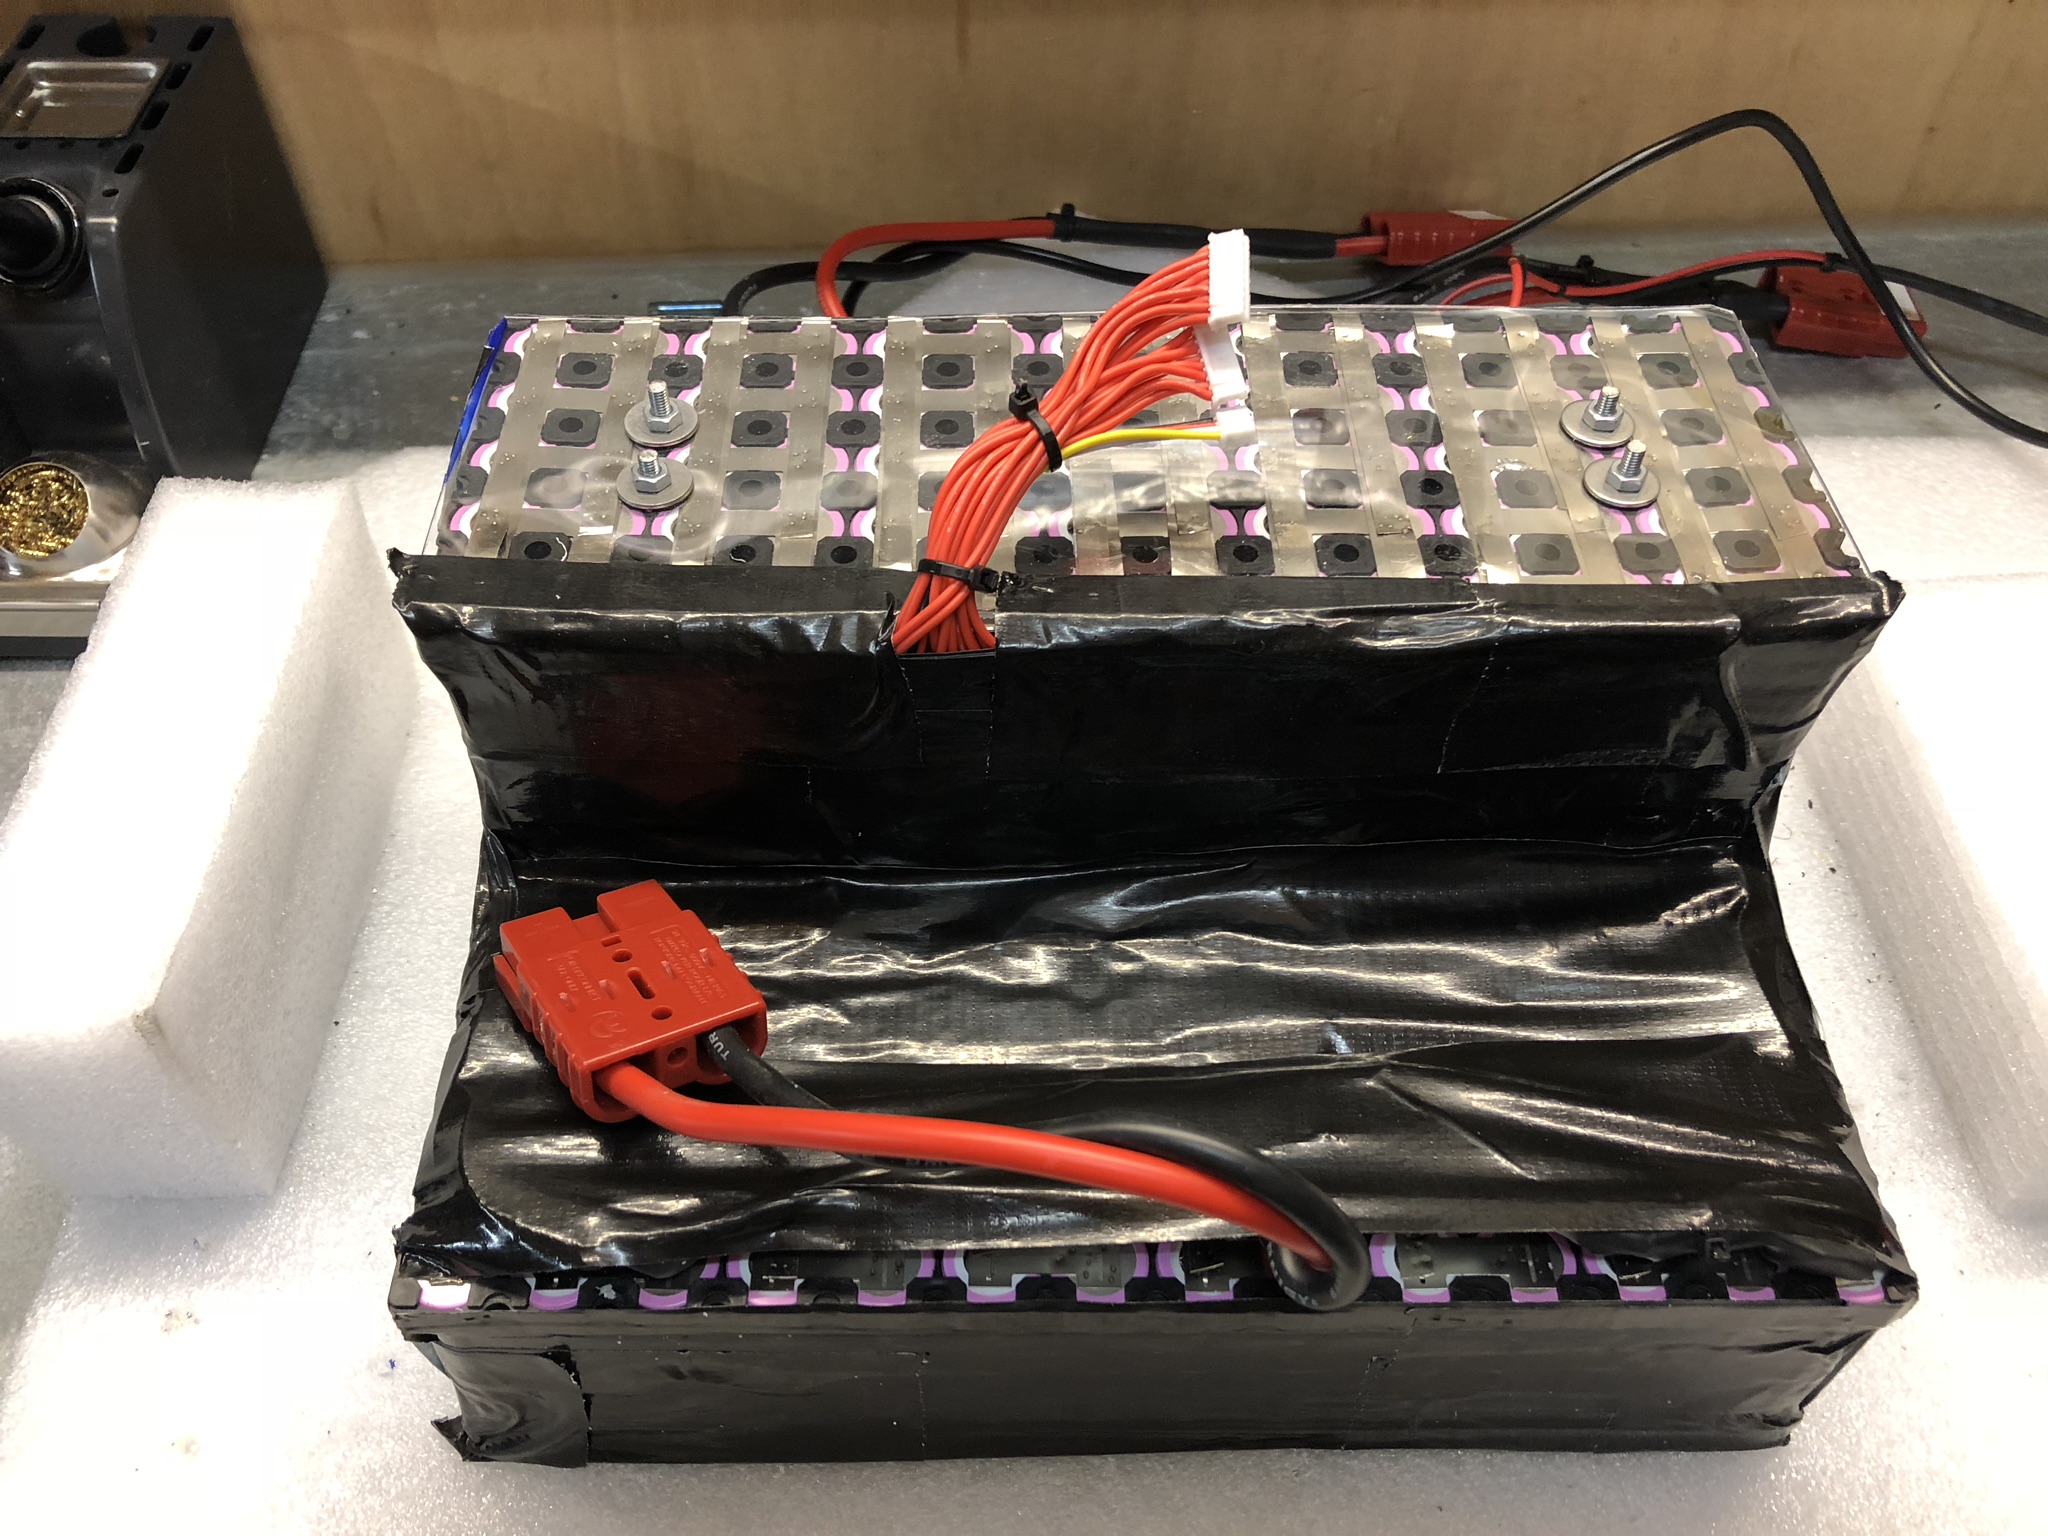
Using a tape, lexan and some screw the end result (without BMS) looked like this:
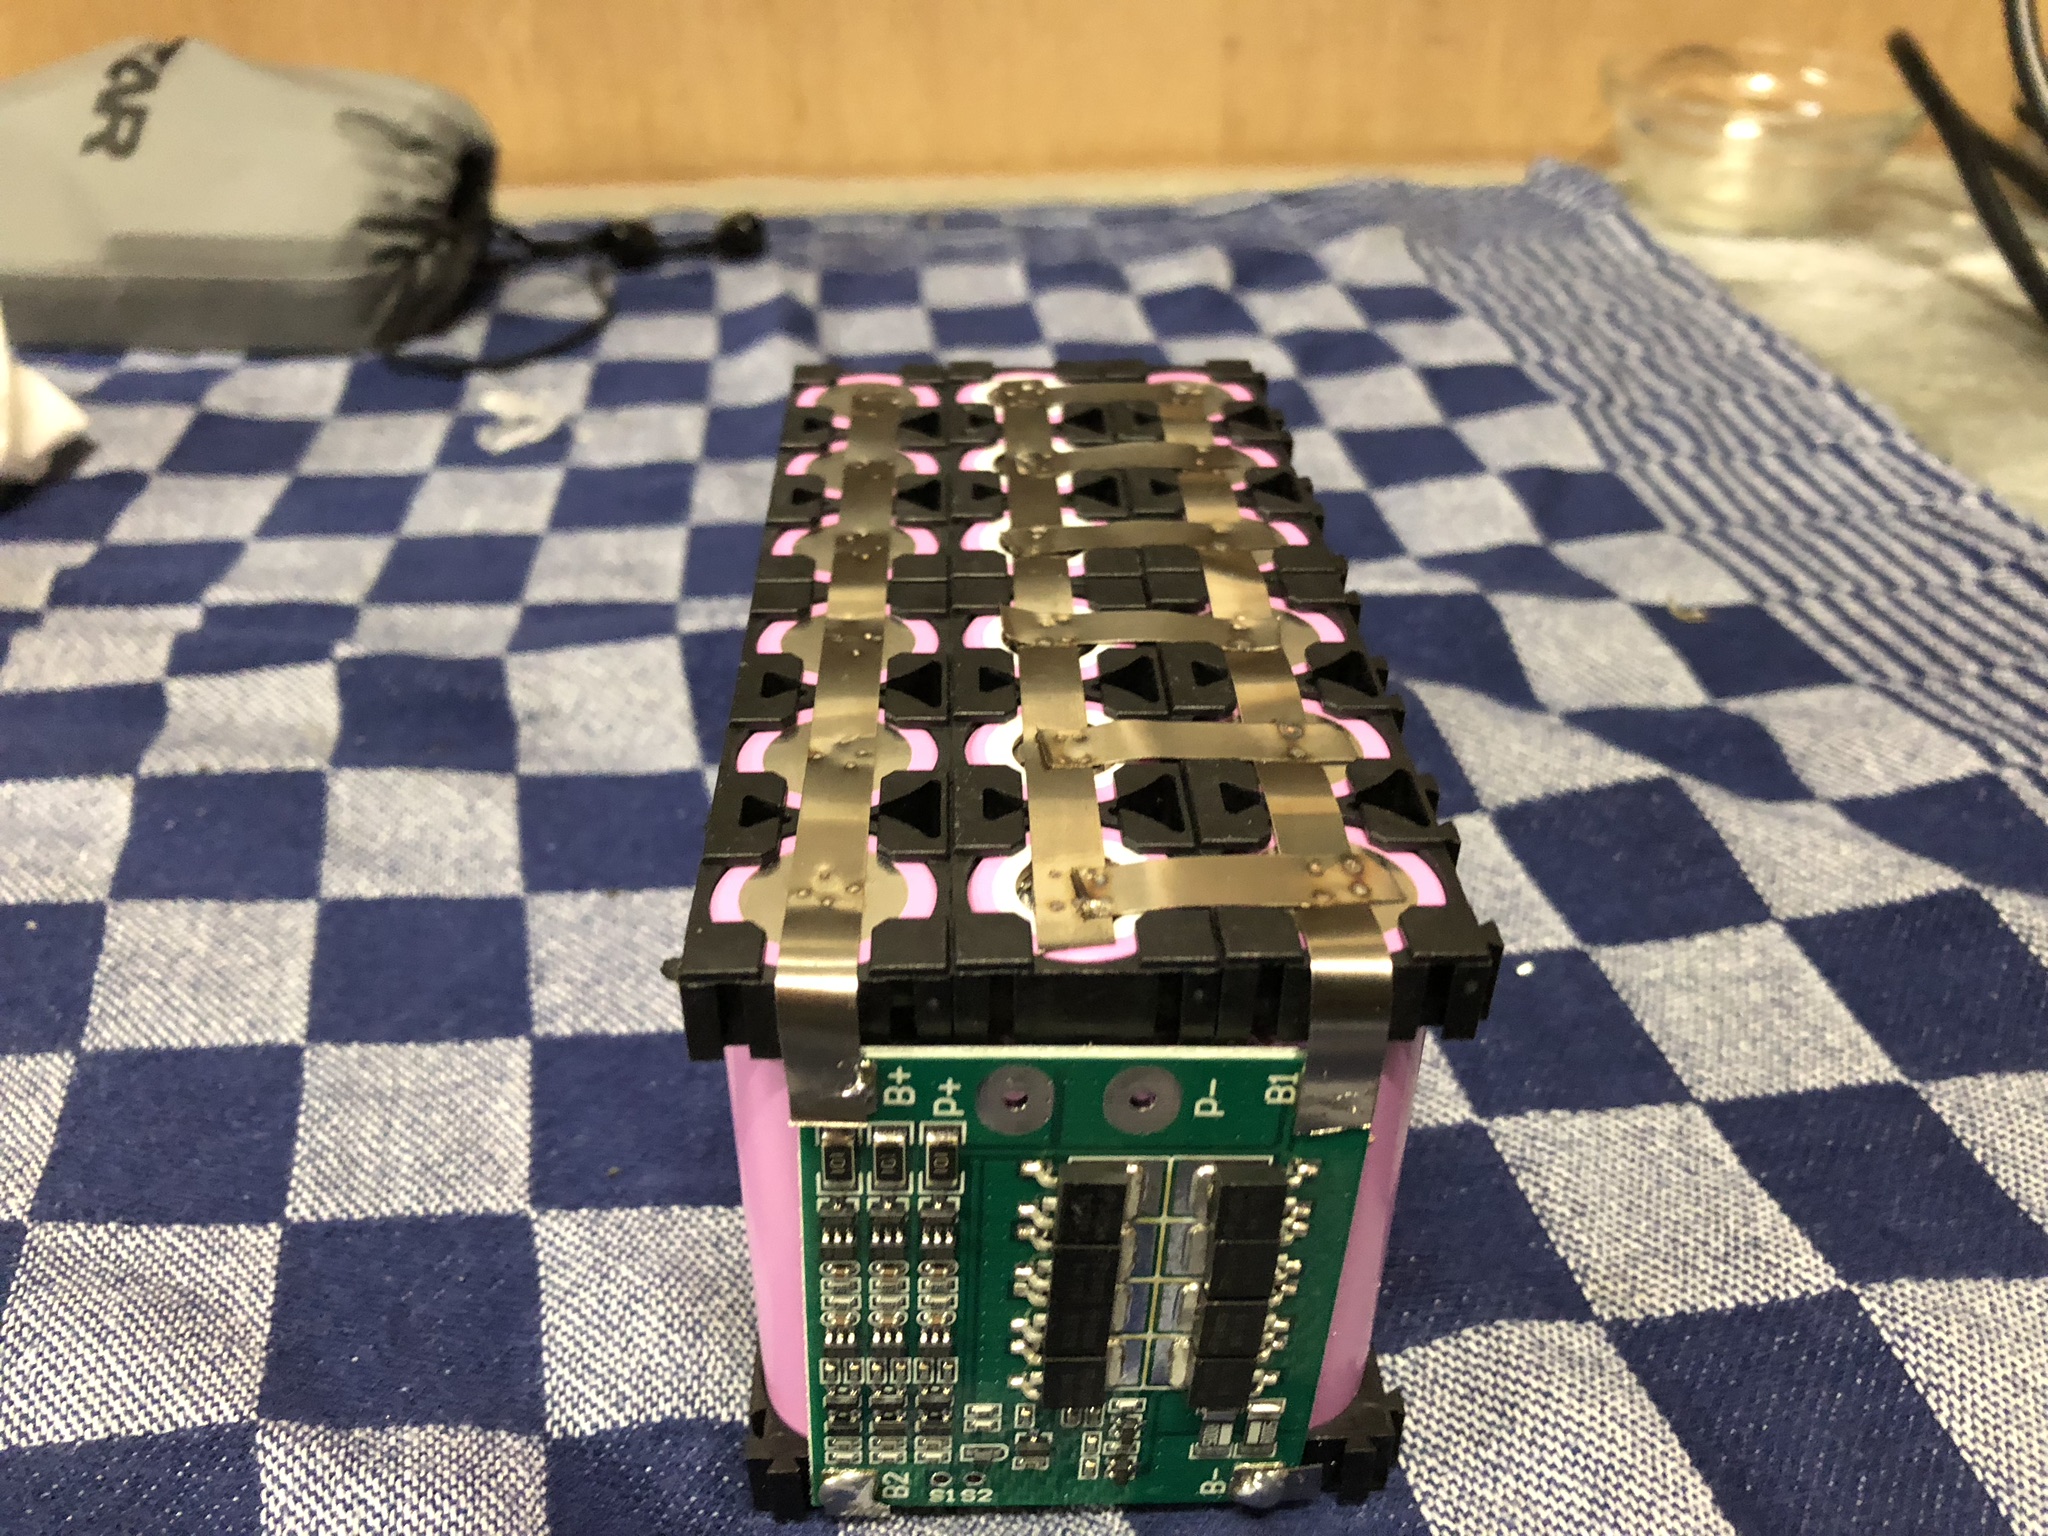
And with my TinyBMS connected to it:
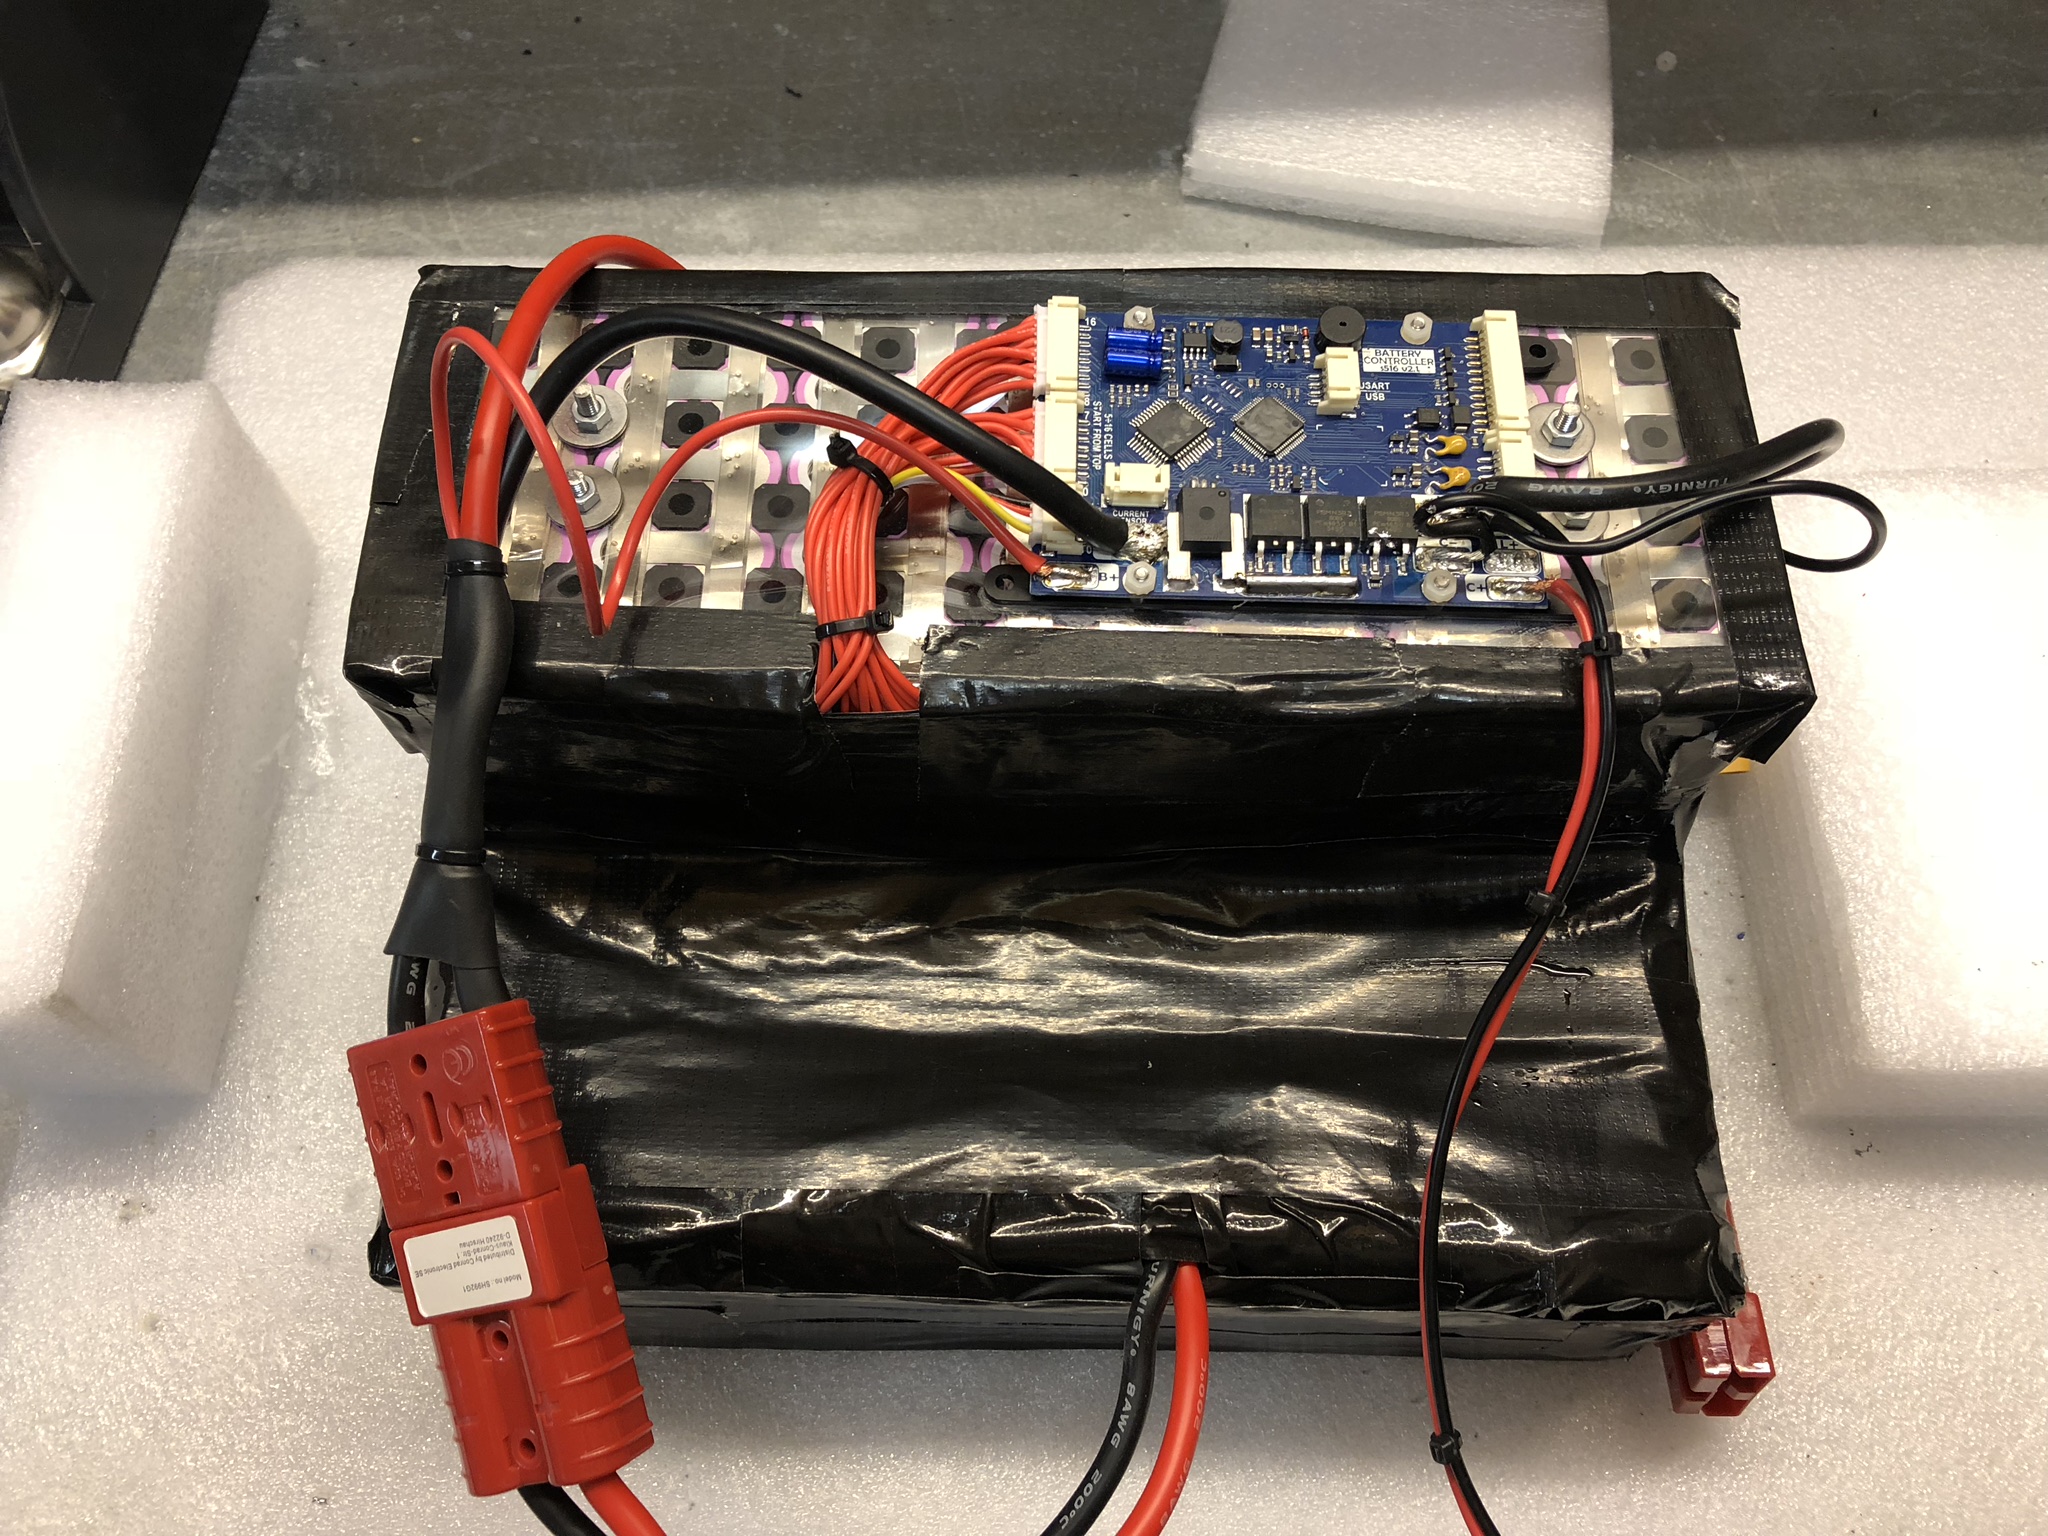
The tiny red wires are the balancing wires used by the BMS to monitor the cells in series and balance charge them when needed.
BMS settings
Using a Windows tool you can monitor and configure the BMS using a USB cable (which you have to buy).

There are various settings you can change, but the main values I set were:
- Low voltage cut-off: 3.25V
- High voltage cut-off: 4.15V
- Maximum discharge currect: 75A
Although the cells can range from 3.2V to 4.2V I decided to take a 0.05V safety margin to increase the lifetime of the cells. I might lower the maximum voltage per cell to 4.1V in the future, but that’s something I still have to decide.
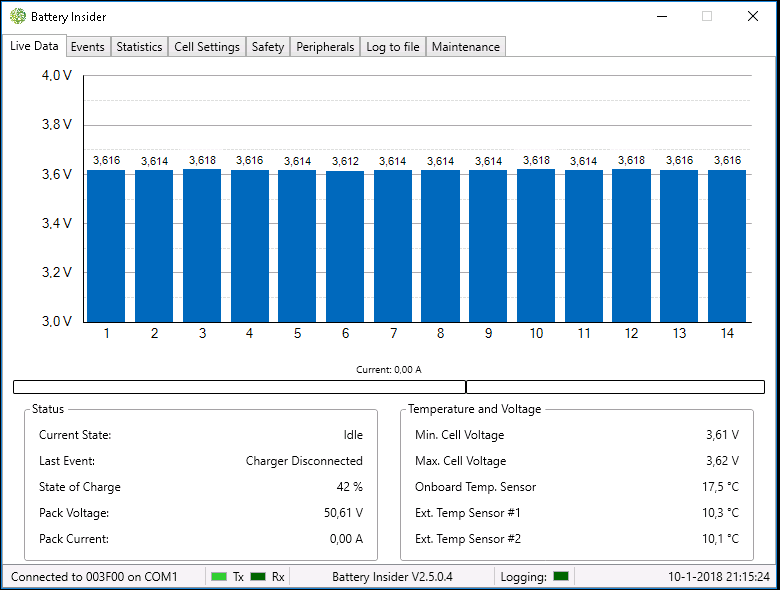
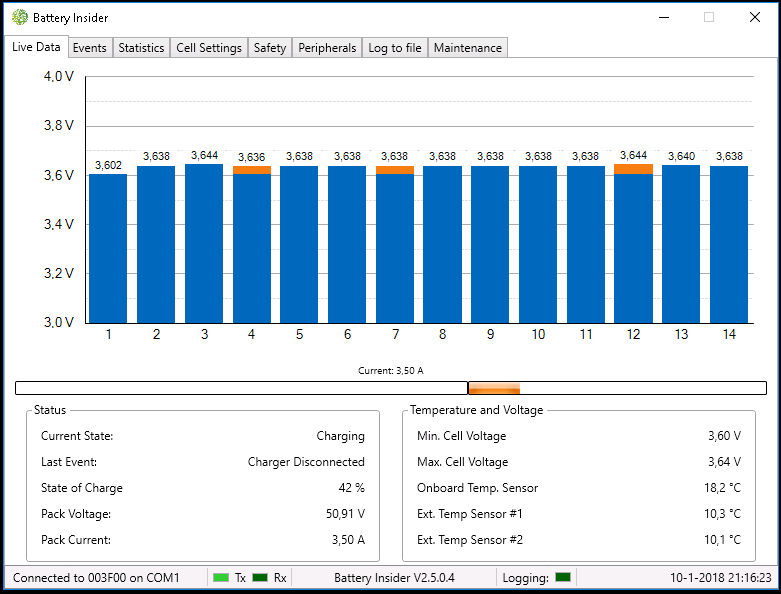
Using the BMS tool you can see the voltage of each individual series of cells and see them change while charging the battery.
Charging and Charger
To charge this battery I also needed a new charger as the old charger was not suited for Lithium and the voltage was too low.
I bought a 58.8V/5A charger on AliExpress which I’m using for now. It does seem to do the job just fine for now. The BMS isn’t complaining (yet).
Using XT90 connectors I connect my charger to the BMS although the scooter has a XLR input. But internally I’m connecting all those wires using XT90 connectors.
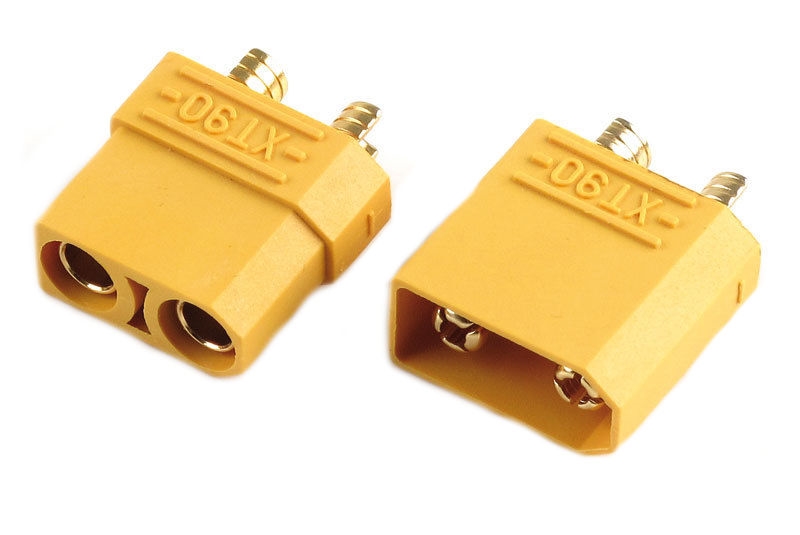
I got my XT90 connectors at Hobbyking as they also have a local warehouse in the Netherlands and have a good reputation.
Weight
The four old batteries had a combined weight of nearly 50kg where the new battery weighs slightly less than 12kg with everything connected.
That’s a weight reduction of 38kg! That will benefit acceleration, handling and range positively.
End result
The end result is a 2,6kWh battery consisting out of 210 cells connected in a 14S15P configuration with a nominal/maximum voltag of 50.4V/58.8V.
My initial calculations and tests tell me that when driving ~30km/h (Yes, I did some tuning!) the motor draws about 20A. That’s about 1000W at 50V.
Since the battery is 2600Wh I should be able to drive for roughly 2 hours and 30 minutes at 30km/h before the battery is empty.
30km for 2.5 hours would mean a range of 75km which is more then enough for my driving habits with this scooter.
With the original batteries I had a range of roughly 40km, but I never tried if it actually got that far. I think I improved the range with nearly 75% with this new battery.
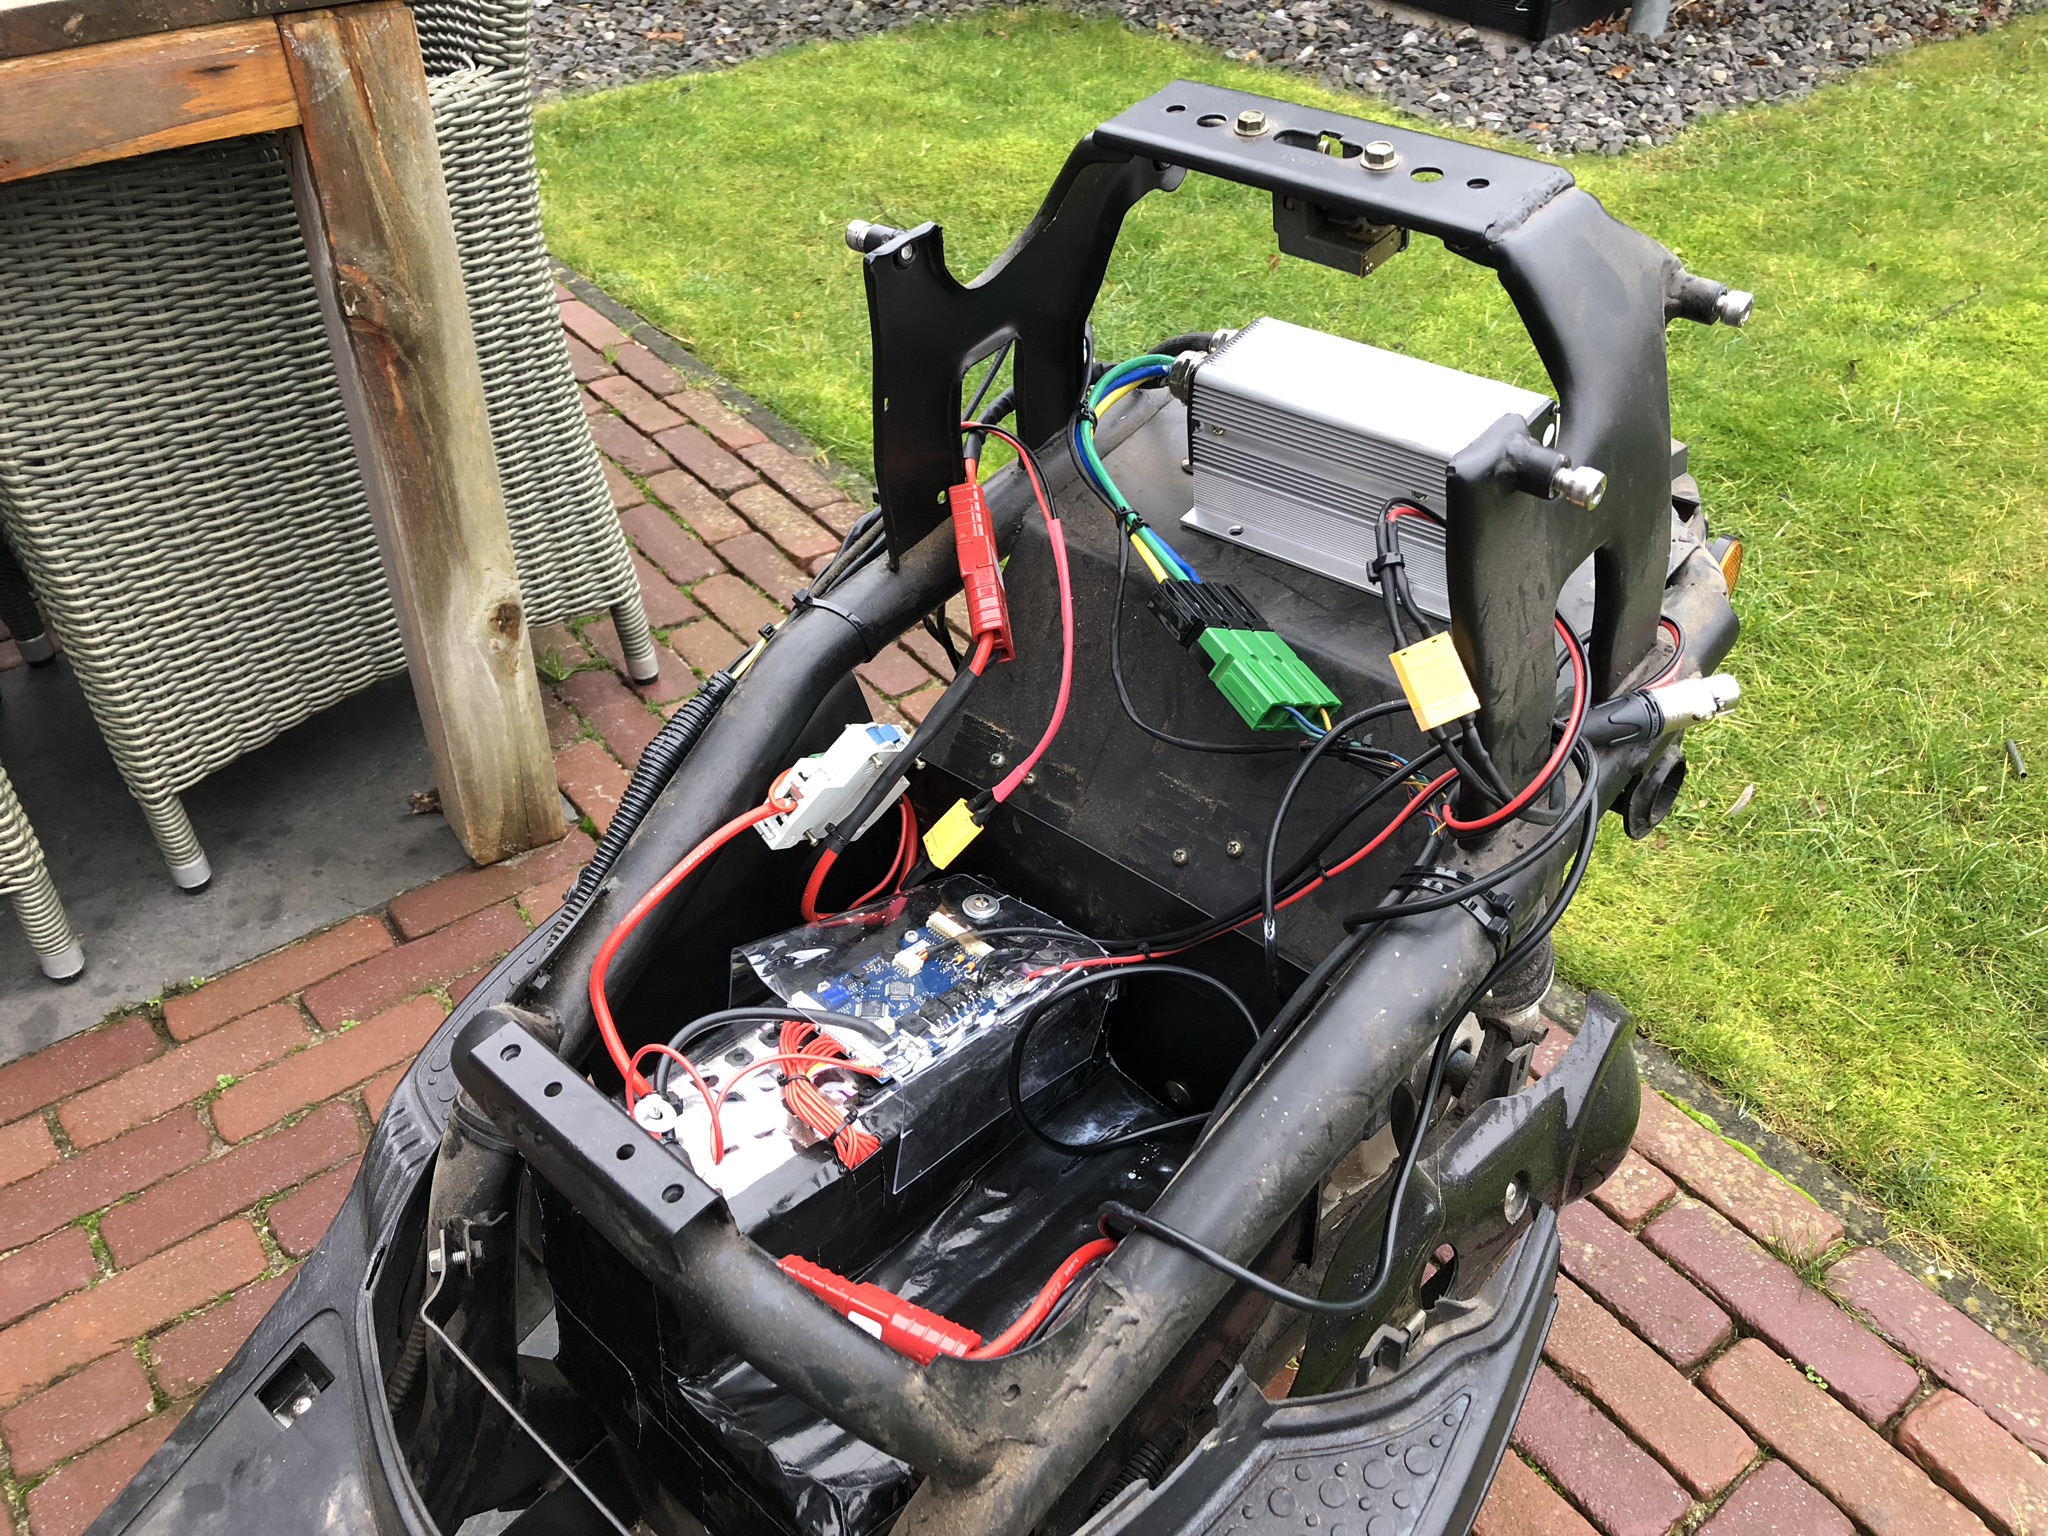
In this picture you see the battery installed in the scooter and hooked up to the controller. A post about the controller and connecting it all will follow later.
Costs
The total costs for the cells, BMS, wire and connectors is about EUR 940,00 which can be broken down into:
- Cells: EUR 650,00
- BMS: EUR 200,00
- Wires: EUR 40,00
- Connectors: EUR 50,00
- Time: 50 hours!
For me it was a cool project and something I could learn a lot from.
BIG Thanks
There are a few people and sources I have to thank big-time for their information on the internet.
- jehugarcia on YouTube
- User flippy.nl on Tweakers.net
- All the other people sharing information!
I wouldn’t have been able to do this without those people. Thanks!
Performance
The battery is currently installed in the scooter and I’m still in the process of fine-tuning the controller.
My initial test drives tell me that the performance improved a lot! Acceleration to 30km/h is a lot quicker and I feel the motor has a lot more torque than it had before. This is mainly due to the battery being able to provide the current required to power the motor. The weight reduction can also be felt clearly and also contributes to the improved acceleration.
One of the cool things is that the scooter now has regenerative breaking thanks to the new controller.
A post regarding the controller and connecting it all will follow. Stay tuned!