Preparing the charging infrastructure for the Tesla Roadster

As you might have read, a friend of mine (also my colleaugue) has ordered a Tesla Roadster, so we had to do some preparations for the charging infrastructure.

We live in The Netherlands (Middelburg, Zeeland) where we have two offices. Our main office is at the city center, but we also have second office which is outside the city and has a private parking deck, ideal for charging your Roadster!

One of the problems you have in Holland is that our whole infrastructure is based on 3-phases, while the Roadster only supports 1-phase charging. A lot of offices are connected to one or more phases with a 25A or 35A breaker (one breaker per phase ofcourse). Yes, we have 230V, so 35A should give you around 8kW of power, but it would still take 6.6 hours to fully charge the Roadster. But that is the situation here, you can’t use more than 32A (breaker is at 35A) on one phase. The 3-phase system has to be balanced, so when you want to use more then 32A, the load should be spreaded over the 3-phases.

Our office had one breaker of 35A, which was enough for just the office (5 desks and some servers), but it wouldn’t be enough for charging a Roadster. After contacting the utility company they told me that the first step was to go from 1x35A to 3x40A, so that is what we did.

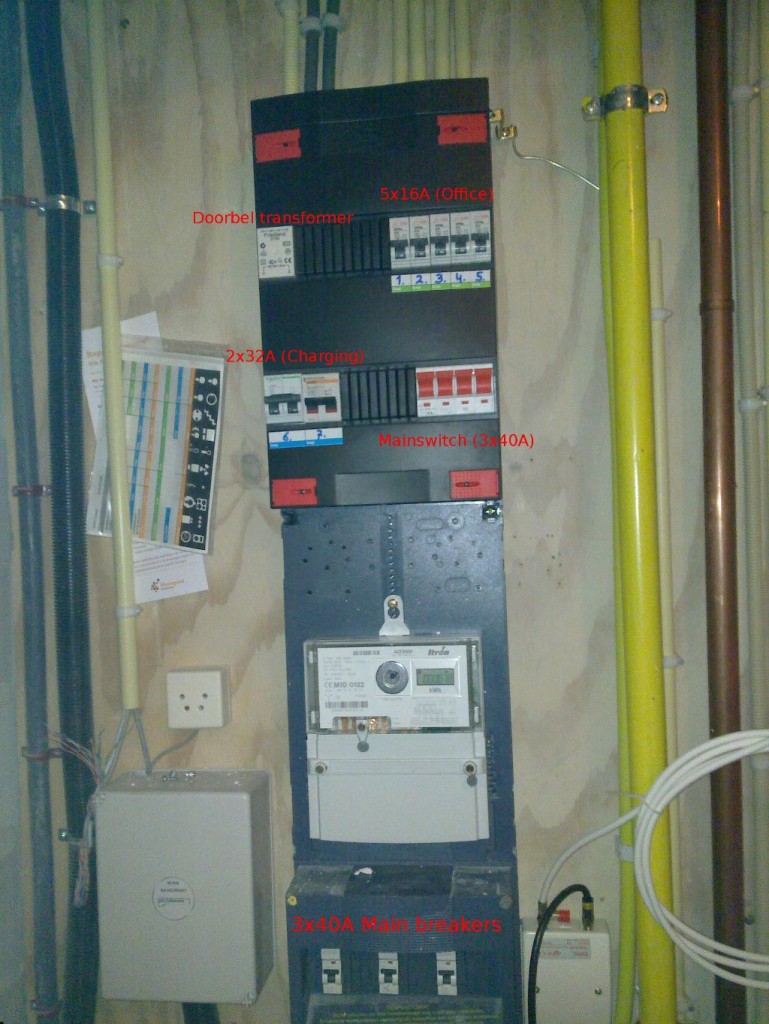
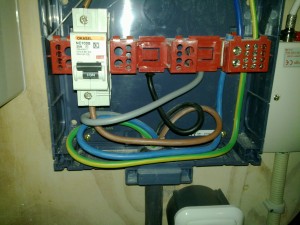
That was our old main breaker, as you can see, there are two (Black and Grey) unused phases, the utility company came over and they connected the two extra phases and installed a 3-phase kWh meter.

After that was done we contacted a local electrician who could expand our fusebox. Since I made a reservation for a Model S, we choose to use both extra phases for charging EV’s.

This resulted in two charging stations of 230V 32A at the parkingdeck, both connected to their own 32A breaker. After there work was done, our fusebox looked like:

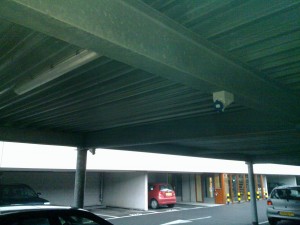
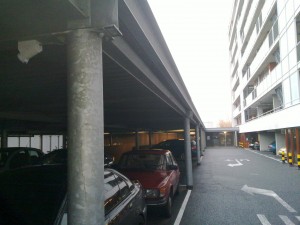
At the parking deck we installed two 32A single phase sockets, we have two parking places next to each other


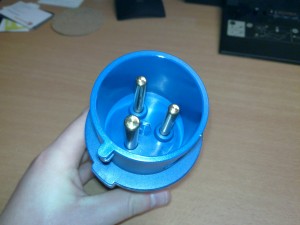
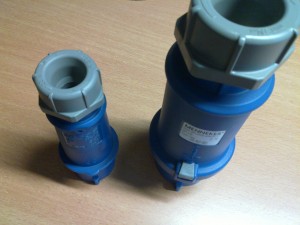
The connector which we will be using to charge the Roadster is a CEE Form 32A Single Phase connector:

Compare that to the 16A connector:

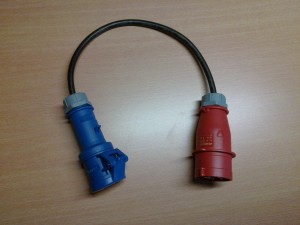
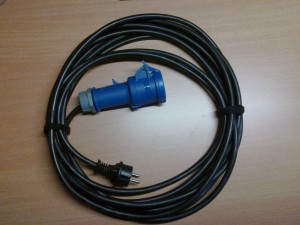
While charging stations are being installed more and more, they are not everywhere. Every outlet in the wall is a charging station, so why not use it? I created some converters which would enable him to charge his Roadster anywhere:

I’m still waiting for some connectors to create a 3×32 to 1x32A converter, but it’s the same as the 3x16A to 1x16A converter showed above, but then a bit bigger.

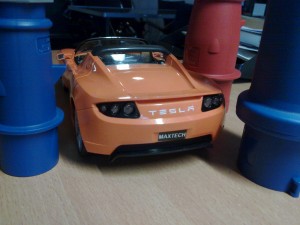
For now, we only have to charge this Roadster:

To be continued!
Printing over IPv6 to a Canon MP495

Yesterday I posted that my new Canon Pixma MP495 also supports IPv6.

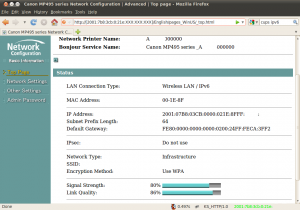
I had to test if I could print over IPv6, so I switched from IPv4 to IPv6 in the printer configuration (Note: You have to select IPv4 or IPv6, there is no Dual-Stack!). Before doing so I wrote down the MAC Address of the printer, I would need that to find it on my network, since the printer would get a IP from the Router Announcements my Linux router send out.

After turning on IPv6 the printer got his address within a few seconds and I was able to browse through the webinterface with Firefox.

Now I wanted to print over IPv6, the first thing I checked was if CUPS under Ubuntu 10.04 supported IPv6. It seems that CUPS supports IPv6 since version 1.2 and Ubuntu 10.04 is shipped with CUPS 1.4, so that was OK.

Then I created a DNS record for my printer, I pointed a AAAA-record to my printer, just so I dind’t have to type the address all the time. And DNS has been developed for NOT typing IP-Addresses, isn’t it?

Now I had to configure CUPS to print over IPv6, my goal was to do this via the GUI and not use any command-line stuff, that was even easier that I thought.

Adding the printer can be done in a few simple steps:

  • Go to System -> Administration -> Printing
  • Add a printer
  • Choose “Network Printer”
  • Choose LPD/LPR Host or Printer
  • In the host field, put the DNS record to your printer (or add the printer in /etc/hosts)
  • Then choose “Probe”
  • At “Queue”, select “ps”
  • Click on “Forward”
  • Choose “Provide a PPD file”
  • Download this PPD file and choose it as the driver
  • Add the printer!

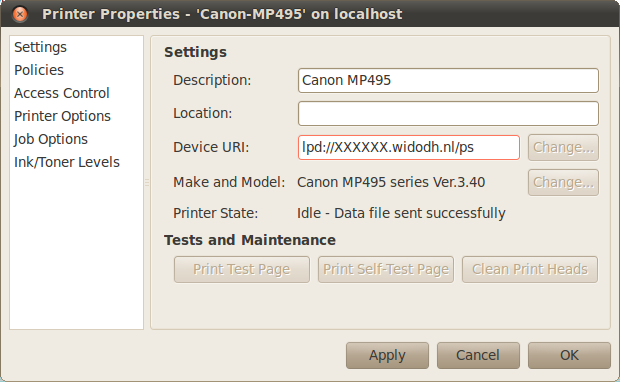
Your printer settings should then look like:

Your are all set, the printer should work over IPv6 after this steps. Happy printing over IPv6!

Bonding, VLAN and bridging under Ubuntu 10.04

The last few weeks I spend a lot of time upgrading Ubuntu 9.10 systems to 10.04, these systems are SuperMicro blade systems with 2 NIC’s per blade.

By using bonding (active-backup) we combine eth0 and eth1 to bond0. On top of the bond we use 8021q VLAN’s, so we have devices like bond0.100, bond0.303, etc, etc.

Those devices then are used to create bridges like vlanbr100 and vlanbr303 to give our KVM Virtual Machines access to our network.

This would result in a setup like:

eth0 -> |
        | -> bond0 -> bond0.100 -> vlanbr100
eth1 -> |          -> bond0.303 -> vlanbr303  

Under Ubuntu 9.10 and before this setup worked fine, but under Ubuntu 10.04 we noticed that the network inside the virtual machine wouldn’t work that well. The ARP reply (is-at) would be dropped at the bridge and didn’t get transferred to the Virtual Machine.

If I’d set the arp manually inside the VM, everything started to work, but ofcourse, that was not the way it was meant to be.

After hours of searching I found a Debian bugreport, that was exactly my problem!

It seems that Ubuntu’s ifenslave-2.6 package (1.10-14) under 10.04 has exactly the same bug. Backporting the ifenslave package from 10.10 (1.10-15) fixed everything for me, my virtual machines would start to work again.

I created a bug report for this at Ubuntu, hopefully they will fix it in 10.04 rather quickly.

For now, if you have the same problem, just backport the ifenslave package from 10.10 to 10.04